



Nail Looks & Colour Inspiration
How to Use Rubber Products: Application, Apex, Lifting & Removal
Aug
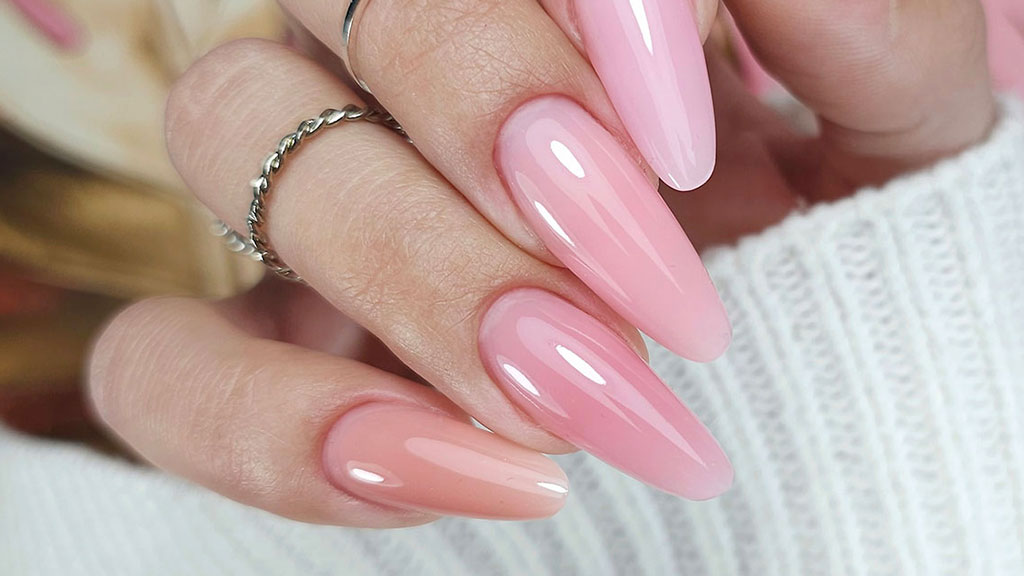
Rubber base gel is a versatile option when a standard thin base does not provide enough support, but a full builder gel application would be more than the natural nail requires. Its thicker, flexible and self-levelling consistency can help create a smoother surface, reinforce short natural nails and add controlled structure to a gel manicure.
The most important part is knowing how to use rubber base gel correctly. The result depends not only on the product itself, but also on nail preparation, product placement, layer thickness, nail architecture and correct curing.
If you already know that rubber base is the right system for your manicure, explore the full Claresa Rubber Base collection and choose the shade and finish that best suit the result you want to create.
What Is Rubber Base Gel?
Rubber base gel is a flexible UV/LED-cured base product that can be used underneath gel polish or, in coloured versions, as part of the visible manicure itself. Compared with a very thin traditional base coat, it can provide more levelling and controlled reinforcement.
Depending on the individual formula and application method, rubber base can help to:
- create a smooth foundation underneath gel polish;
- level minor surface irregularities;
- reinforce short natural nails;
- create a subtle apex;
- support the stress area of the nail;
- provide a nude, pink, milky or decorative base colour;
- allow a short extension when the specific product is designed for it.
Rubber base should not automatically be treated as a replacement for every other nail-building product. If you are still deciding which type of base is suitable for your manicure, read Choosing the Right UV Base – Differences & Benefits. That guide compares different base systems, while this article focuses specifically on how to apply and use rubber base gel.
Rubber Base Gel at a Glance
| Question | Practical answer |
|---|---|
| What is rubber base gel used for? | Levelling, flexible reinforcement and creating a structured foundation for gel polish. |
| Can it be worn without gel polish? | Yes, when a coloured rubber base provides the shade and coverage you want. |
| Can you build an apex with rubber base? | Yes, suitable formulas can be used to create a controlled, subtle apex. |
| Can rubber base extend nails? | Selected formulas allow short extensions. Always check the instructions for the exact product. |
| Does rubber base need a lamp? | Yes. It must be cured in a compatible UV/LED system according to the product instructions. |
| Is rubber base the same as builder gel? | No. Rubber base is primarily a flexible base and reinforcement product; builder gel is intended for more structural work. |
| Can every rubber base be soaked off? | No. Removal method depends on the specific formula. |
Explore Rubber Base Products
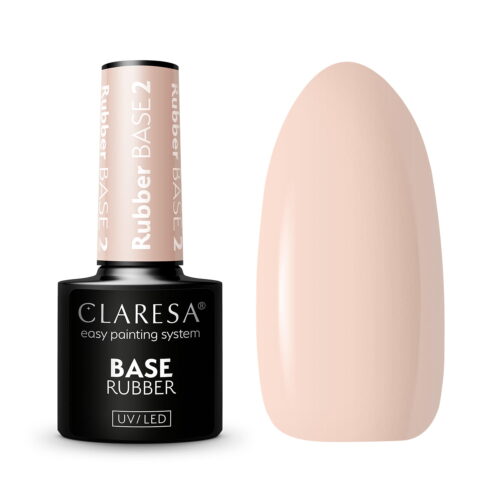


When Is Rubber Base a Good Choice?
Rubber base can be especially useful when the natural nail needs more support than a very thin base coat can provide, while still keeping the manicure relatively light and natural-looking.
It can be considered for:
- short natural nails that need additional reinforcement;
- minor unevenness on the nail surface;
- natural nail overlays;
- nude and pink manicures;
- French manicure foundations;
- baby boomer designs;
- small visual corrections to the shape of the nail;
- manicures where a coloured base can replace a separate colour layer;
- short extensions when the selected formula permits them.
For long extensions, significant reconstruction or more advanced nail architecture, a dedicated builder system may be more suitable. If your manicure requires that level of structure, see our complete guide to builder gel.
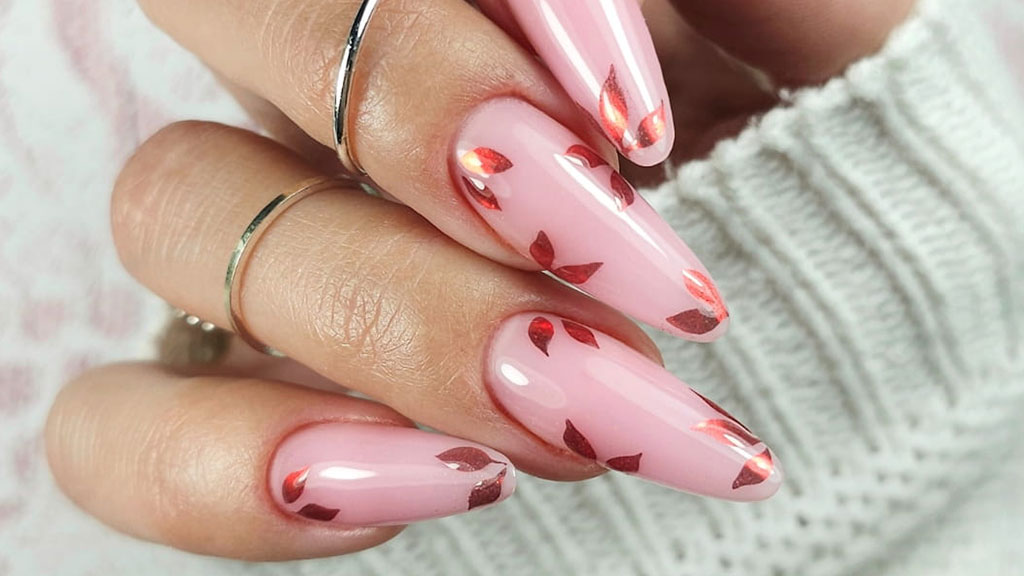
How to Apply Rubber Base Gel Step by Step
The exact instructions supplied with the product you are using always take priority, but the following sequence explains the general logic behind a controlled rubber base application.
1. Check the natural nail before application
Begin by looking at the condition of the nail plate and surrounding skin. Cosmetic gel products should not be applied over open wounds, visible inflammation, suspected infection or unexplained changes in the nail.
The natural nail also determines how much structure is actually required. A very short, naturally curved nail may need much less product than a flat or slightly longer nail.
2. Shape the free edge
Establish the desired length and nail shape before applying rubber base. Use an appropriate nail file and keep the sidewalls balanced without aggressively filing the natural nail.
The main shaping should be completed before product application so that the rubber base can be placed according to the final nail architecture.
3. Prepare the cuticle area
Carefully prepare the cuticle area and remove non-living tissue attached to the nail plate. Product applied over cuticle tissue is more likely to lift and may also come into contact with the surrounding skin.
If you are unsure which preparation liquids belong at each stage, read Cuticle Remover vs Gel Remover vs Dehydrator vs Primer before continuing.
4. Prepare and clean the nail plate
Remove surface shine only as required by the manicure system. The aim is to prepare the surface, not to thin the natural nail aggressively.
Remove filing dust thoroughly and make sure the nail plate is clean. After preparation, avoid touching the surface with your fingers because oils can be transferred back onto the nail.
5. Use nail-preparation products when required
Cleaner, dehydrator and primer perform different functions and should be used according to the needs of the nail and the selected system rather than automatically applying every preparation product available.
For additional adhesion support with selected Claresa Rubber Base products, consider Claresa Primer Ultra Tape 5 ml.
Primer does not replace correct cuticle preparation, dust removal or cleaning of the nail plate. It is one part of the preparation process.
6. Apply a controlled contact layer
Apply a thin, even layer of rubber base over the prepared nail plate. Keep the product away from the cuticle and surrounding skin.
This contact layer creates the foundation for the following structure. Whether it should be cured before adding more product depends on the application system and individual product instructions.
7. Add product where additional structure is needed
If the nail needs levelling or reinforcement, place an additional controlled amount of rubber base in the structural area instead of making the entire nail uniformly thick.
Guide the material so that it flows smoothly from the central part of the nail towards the free edge while keeping the cuticle area thin.
Self-levelling formulas can continue moving before curing, so working on one nail at a time may give you better control while learning how the product behaves.
8. Check the nail before curing
Look at the nail from above, from the side and from the front. A smooth reflection line can help reveal whether the surface is even.
The product should create a balanced profile without a bulky cuticle area, excessive thickness at the free edge or uncontrolled material in the sidewalls.
9. Cure according to the product instructions
Rubber base must be cured in a compatible UV/LED lamp. Follow the curing instructions for the exact product and do not estimate curing time only from lamp wattage.
Product chemistry, pigmentation, layer thickness, lamp design and finger position can all affect curing.
For a deeper explanation of lamp compatibility and correct curing, see the Claresa UV & LED Nail Lamp Guide.
10. Apply gel polish or finish the Rubber Base manicure
If you want additional colour, continue with your chosen gel polish after the rubber base has been correctly applied and cured.
Explore the Claresa gel polish collection to combine the reinforced foundation with your preferred shade.
If the coloured Rubber Base already gives you the finished appearance you want, you can move to a compatible top coat according to the product system.
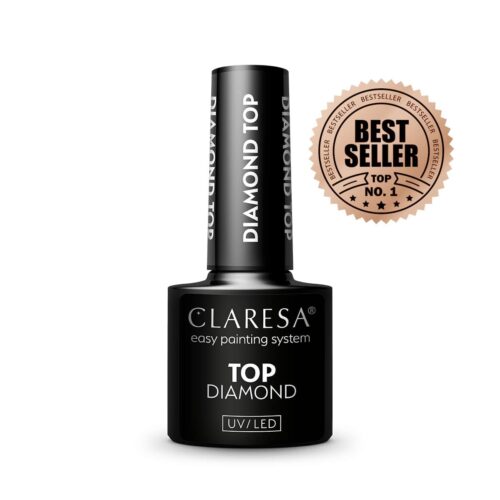
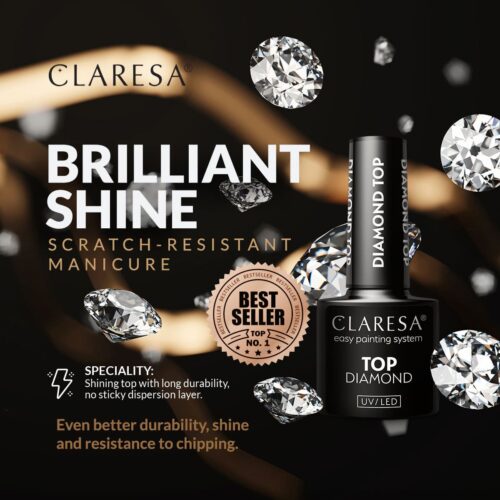
Browse the Claresa top coat collection or finish your manicure with Claresa Diamond Top No Wipe 5 ml.
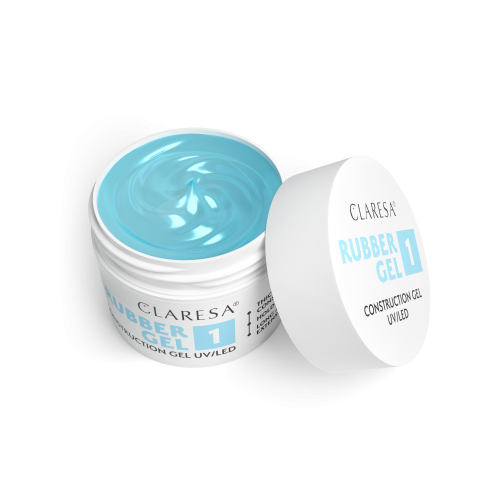
How to Build a Subtle Apex with Rubber Base
An apex is the slightly higher structural area that helps create a balanced nail profile and supports the stress area. With rubber base, the goal is usually a subtle and controlled structure rather than the more developed architecture associated with long builder-gel extensions.
To create a balanced apex:
- apply and distribute the initial base layer;
- place a small additional amount of product where the nail requires support;
- guide the product rather than repeatedly brushing it completely flat;
- keep the cuticle area thin;
- check the nail from the side before curing;
- make sure the highest point blends smoothly into the rest of the nail;
- cure according to the product instructions.
The apex should form part of a smooth nail profile. It should not look like an isolated lump in the centre of the nail.
Using more product does not automatically create a stronger nail. Correct placement and appropriate thickness matter more than simply increasing the amount of gel.
How Thick Should Rubber Base Gel Be?
Rubber base should be thick enough to provide the structure required by the nail, but not so thick that the manicure becomes bulky or difficult to cure correctly.
The appropriate amount depends on:
- the length of the natural nail;
- the existing curvature of the nail plate;
- the viscosity of the rubber base;
- whether levelling is required;
- whether an apex is being created;
- whether a separate colour will be applied;
- the maximum layer thickness permitted by the manufacturer.
Keep the area close to the cuticle controlled and thin. Additional material should be positioned where the nail actually needs support.
Can Rubber Base Be Worn Without Coloured Gel Polish?
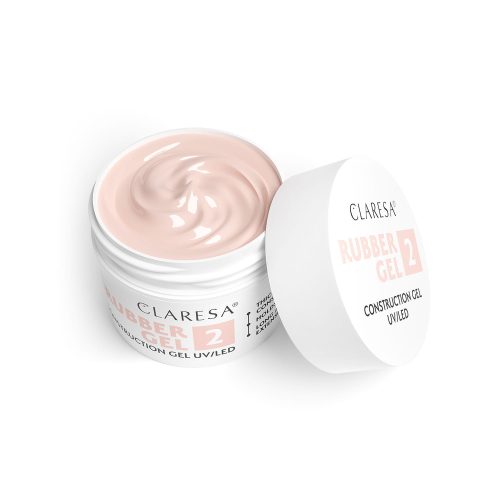
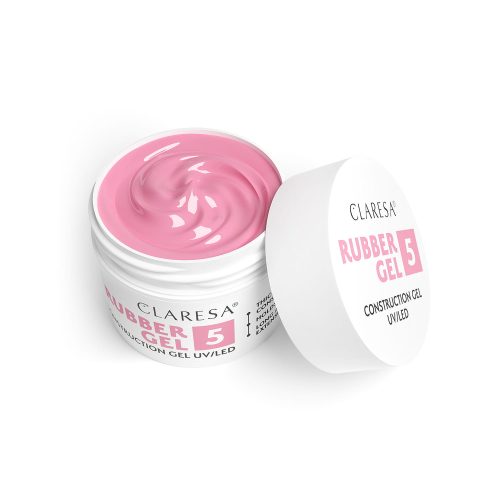
Yes. A coloured rubber base can be used as the main visible colour of the manicure when the selected shade provides the coverage and effect you want.
This works particularly well for:
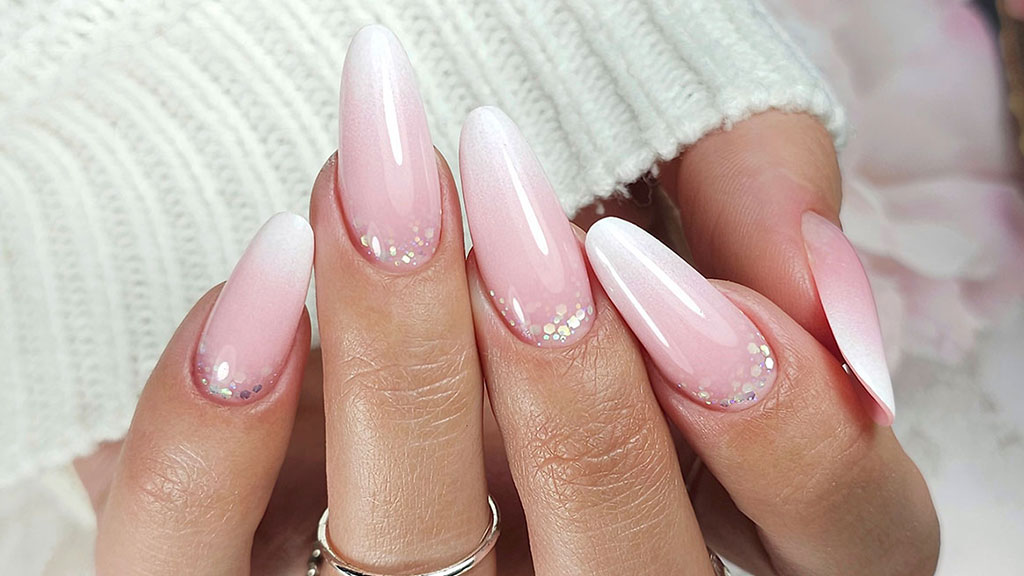
- natural nude nails;
- soft pink manicures;
- milky nails;
- French manicure foundations;
- baby boomer designs;
- minimalist manicures;
- subtle shimmer or glitter finishes.
After creating the required structure and curing the Rubber Base, finish the manicure with a compatible top coat when required by the product system.


Can Rubber Base Be Worn Without Coloured Gel Polish?
Yes. A coloured rubber base can be used as the main visible colour of the manicure when the selected shade provides the coverage and effect you want.
This works particularly well for:
- natural nude nails;
- soft pink manicures;
- milky nails;
- French manicure foundations;
- baby boomer designs;
- minimalist manicures;
- subtle shimmer or glitter finishes.
After creating the required structure and curing the Rubber Base, finish the manicure with a compatible top coat when required by the product system.
Which Claresa Rubber Base Can You Use for Different Looks?
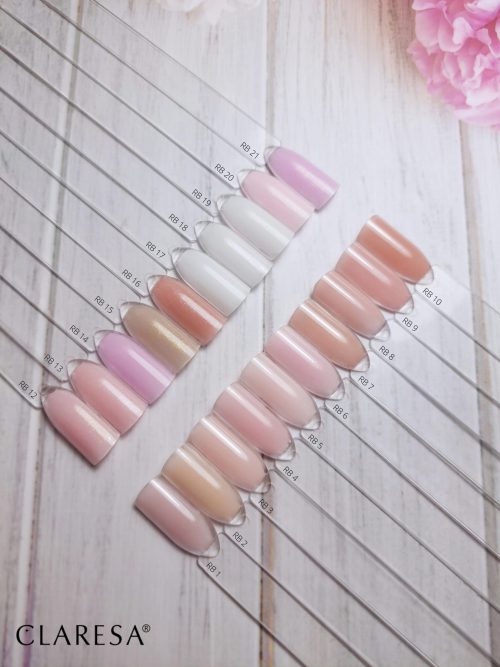
Once you have decided to use Rubber Base, the next choice is mainly about the shade and finish you want to create. The complete Rubber Base category lets you compare the available options in one place.
Soft pink and natural-looking manicures
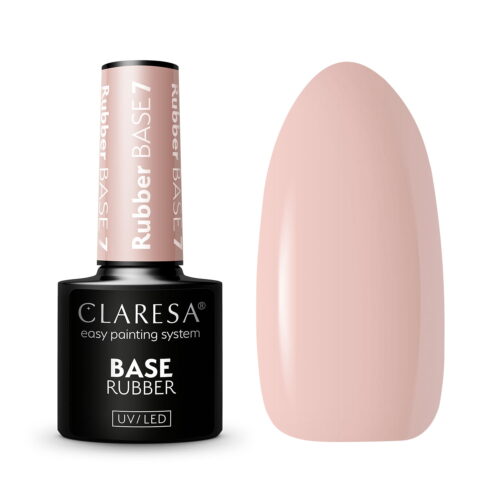
For a clean pink base that can work underneath French or baby boomer styling, see Claresa Rubber Base 7 5g.
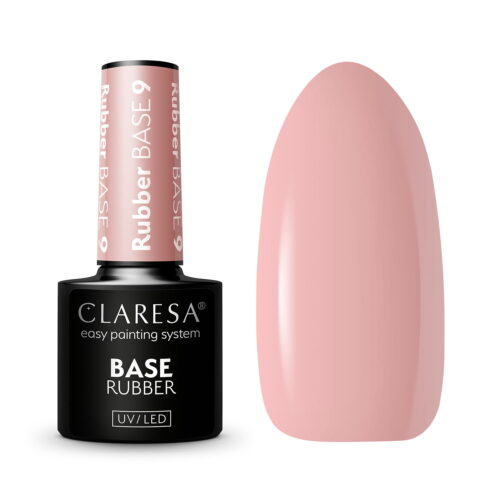
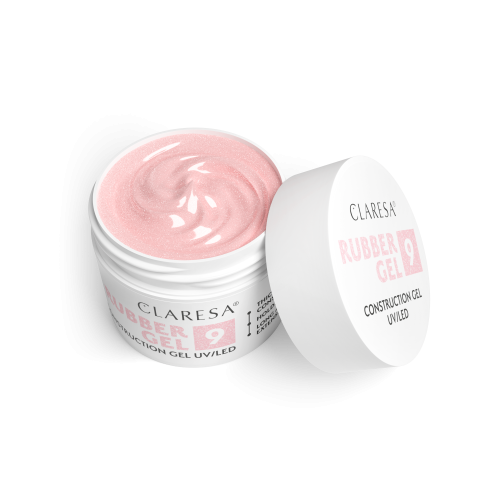
You can also compare it with Claresa Rubber Base 9 5g when choosing the tone that best matches the finished manicure.
Rubber Base with a glitter finish
If you want the base itself to contribute to the finished nail design, explore Claresa Rubber Base 12 Glitter Gold 5g.
A decorative rubber base can reduce the need for a separate colour layer when the shade and level of coverage already create the effect you want.
Rubber Base with golden shimmer
For another decorative option, see Claresa Rubber Base 20 Shimmer Gold 5g.
Shimmer bases are useful when you want structure, colour and a subtle decorative finish within the same manicure system.
Compare the full range before choosing
Individual shades can look different depending on the natural nail, number of layers and lighting. For the widest choice, browse the full Claresa Rubber Base range and check the product description before application.
Shop Rubber Products


Can You Extend Nails with Rubber Base?
Selected rubber base formulas can be used for short nail extensions, but this does not mean every rubber base is suitable for every extension length or nail shape.
The longer the free edge becomes, the greater the mechanical leverage placed on the structure. For more demanding extensions or major reconstruction, a dedicated builder system may be more appropriate.
Always check the individual product description before attempting an extension. Do not assume that all products within the broader rubber base category have identical building properties.
Common Rubber Base Application Mistakes
Applying too much product near the cuticle
A thick cuticle area can make the manicure look bulky and may encourage lifting. Keep this area thin and controlled.
Allowing uncured product to touch the skin
Keep uncured gel products away from the skin. If accidental contact occurs during application, remove the product before curing.
Using one thick layer instead of controlled structure
A large amount of product spread uniformly across the nail does not automatically create correct architecture. Build only the structure that the nail requires.
Ignoring the side profile
A nail may appear smooth when viewed from above while still having an unbalanced structure. Check the manicure from several angles before curing.
Working too slowly with a self-levelling product
Self-levelling formulas can move towards the sidewalls while you work on other nails. If necessary, work one nail at a time so you can cure the structure while it is correctly positioned.
Incorrect curing
A product can look hard on the surface without being properly cured throughout if the layer is too thick or the curing system is unsuitable. Follow the instructions for both the product and lamp.



Why Does Rubber Base Lift?
Lifting means that part of the cured product separates from the natural nail. It can have more than one cause, so simply adding more primer or more product is not always the solution.
| Where the problem appears | What to check |
|---|---|
| Near the cuticle | Cuticle residue, product touching the skin, excessive thickness or poor preparation. |
| At the free edge | Edge preparation, structure, nail length and mechanical pressure. |
| Product separates over a large area | Preparation, contamination of the nail plate, adhesion system or product compatibility. |
| Only selected nails lift | Individual nail shape, daily habits, previous damage and product placement. |
| Lifting repeatedly returns | Reassess preparation, application, curing system and whether Rubber Base is the correct product for that nail. |
Do not respond to lifting by aggressively filing the natural nail. Over-filing can make the plate thinner without solving the actual cause of adhesion problems.
Why Can Rubber Base Wrinkle or Remain Soft?
Wrinkling or a soft layer can indicate a curing problem. Possible causes include excessive product thickness, insufficient curing, incorrect hand position, unsuitable lamp compatibility or a highly pigmented layer that was applied too thickly.
Do not cover visibly wrinkled or soft material with another layer. Remove the affected product safely and identify the likely cause before applying it again.
Why Can Rubber Base Feel Hot During Curing?
Light-cured gel products generate heat during polymerisation. The sensation may become stronger when a large amount of material is cured at once or when the natural nail is thin or sensitive.
Avoid creating unnecessary bulk. Apply only the amount required for the structure and follow the curing system recommended for the product.
How to Remove Rubber Base Gel
The correct removal method depends on the individual formula. Some products may be removable using a soak-off procedure, while others require filing.
Always check the removal information before application so that you know which method will be required later.
For a soak-off formula
- Reduce or break the top coat layer when required.
- Apply the appropriate remover according to the system.
- Allow the product sufficient time to soften.
- Remove only material that has softened correctly.
- Repeat the process rather than forcing resistant product from the nail.
For a non-soak-off formula
A file-off product must be reduced carefully without filing aggressively into the natural nail.
Never peel cured Rubber Base away from the nail. Peeling can remove layers of the natural nail plate together with the product.
Rubber Base for Short vs Longer Natural Nails
Short natural nails are one of the most practical applications for rubber base. The product can smooth the surface, provide controlled reinforcement and create a subtle apex without requiring a heavy structure.
Longer natural nails create more leverage at the free edge and therefore require more careful structural planning. Rubber Base may still be appropriate in some cases, but product selection should be based on the actual nail rather than convenience of application.
If the nail requires considerably more strength or advanced architecture, compare Rubber Base with the structural options explained in our Builder Gel Guide.

Frequently Asked Questions About Rubber Base Gel
What is rubber base gel used for?
Rubber base gel is used as a flexible foundation underneath gel polish and as controlled reinforcement for natural nails. It can also help level minor surface irregularities and create a subtle apex.
How do you apply rubber base gel?
Prepare and clean the natural nail, apply a controlled contact layer, add additional product only where structure is required, check the nail profile and cure according to the product instructions.
Can rubber base be used on its own?
Yes. A coloured Rubber Base can be used as the visible shade of a natural-looking manicure and then finished with a compatible top coat.
Can gel polish be applied over rubber base?
Yes. Once the Rubber Base has been applied and cured correctly, a compatible gel polish colour can be applied over it.
Can you create an apex with rubber base?
Yes. Suitable self-levelling formulas can be used to add controlled structure and create a subtle apex on natural nails.
Can rubber base be used for extensions?
Selected formulas can be used for short extensions. Check the instructions for the exact product before extending the free edge.
Why does rubber base lift?
Possible causes include incomplete preparation, product touching the skin, contamination of the prepared nail plate, inappropriate structure, incorrect curing or a product that does not suit the needs of the nail.
Why does rubber base wrinkle?
Wrinkling can occur when the layer is too thick or has not cured correctly. Lamp compatibility, curing time, pigmentation and hand position should all be checked.
How thick should rubber base be?
Use enough product to create the required structure without making the entire nail unnecessarily thick. Keep the cuticle area controlled and position additional material where reinforcement is actually needed.
Do you need primer under rubber base?
Not in every application. Primer should be used according to the selected product system and the condition of the natural nail rather than automatically adding it to every manicure.
Can rubber base touch the skin?
Uncured gel product should be kept away from the skin. Remove accidental contact before curing.
Can every rubber base be soaked off?
No. Removal method varies by formula. Check the individual product information before application.
Is rubber base the same as builder gel?
No. Rubber Base is primarily a flexible base and reinforcement product. Builder gel is designed for more structural applications and is generally more suitable for demanding extensions or advanced nail architecture.
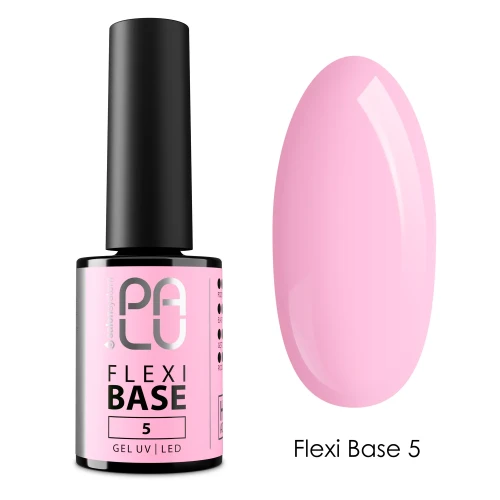


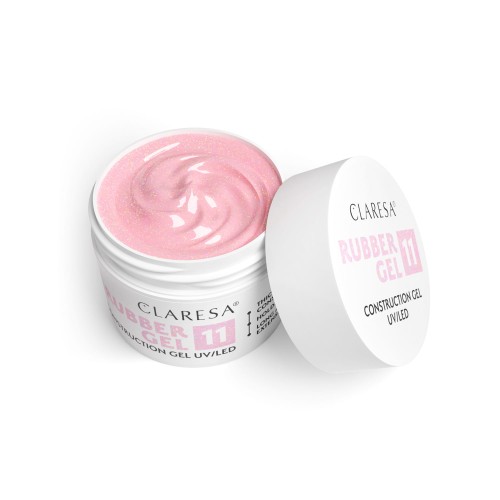

Choose Your Claresa Rubber Base
Rubber Base can combine several useful functions within one manicure: it can create a foundation for gel polish, level the nail surface, provide flexible reinforcement and help build controlled structure.
The best result comes from matching the product to the natural nail and applying it carefully rather than simply using more material. Prepare the nail correctly, keep uncured product away from the skin, position additional structure only where it is needed and cure every layer according to the relevant instructions.
Explore the complete Claresa Rubber Base collection to compare available shades and choose the Rubber Base that best matches your manicure.
Important: Always read and follow the instructions and safety information supplied with the individual product. Use a compatible curing system and avoid contact between uncured gel products and the skin.