

Gel Nali Polish
Nail Lamp Guide: UV & LED Lamps for Gel Polish at Home
May
Nail Lamp Guide: UV and LED Lamps for Gel Polish Manicures at Home
A good nail lamp can be the difference between a smooth, glossy gel manicure and a manicure that wrinkles, peels or feels soft after curing. If you use gel polish or gel nail polish at home, the lamp is not just an optional accessory. It is the tool that helps every layer cure properly, from base coat to colour and top coat.
This complete nail lamp guide explains what a nail lamp does, how UV and LED lamps work, what to look for when choosing a UV nail lamp, how to cure gel polish correctly, and which common mistakes can make even a beautiful manicure fail too early.
Quick answer: what nail lamp do you need for gel polish?
For gel polish manicures, you need a nail lamp that is compatible with the products you use. Most modern home and salon manicures use a UV/LED nail lamp because it is designed to cure many UV and LED gel formulas efficiently. A reliable nail lamp should have enough power, even light distribution, a comfortable hand space, suitable timers and clear curing instructions. The most important rule is simple: always cure each gel polish layer according to the product instructions, and apply thin, even layers rather than thick coats.
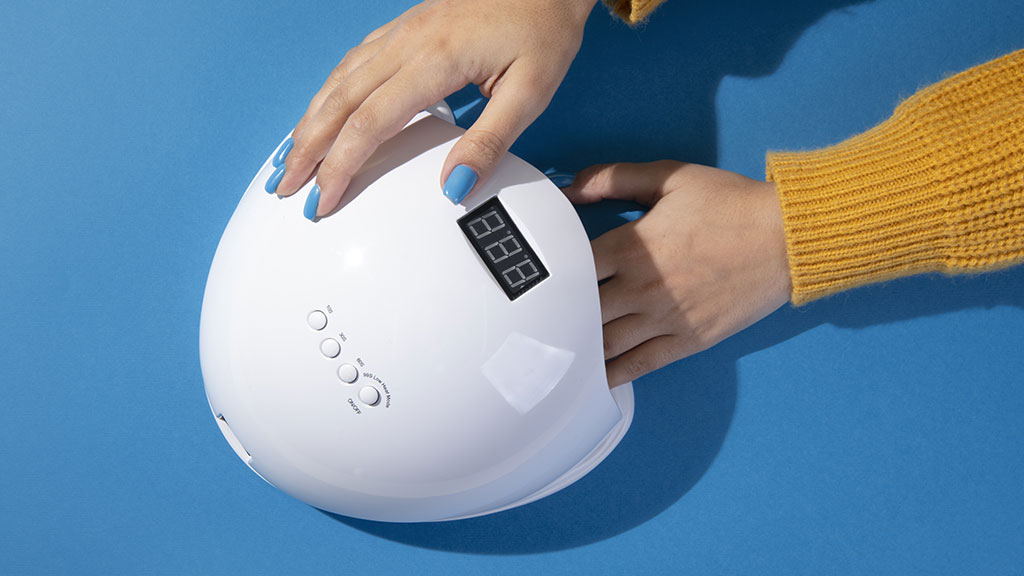
What is a nail lamp?
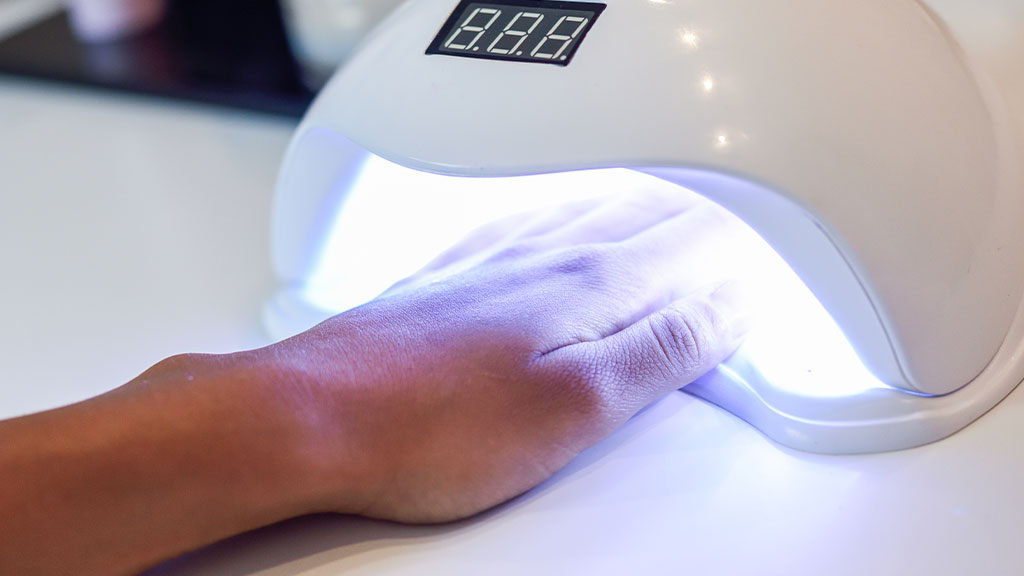
A nail lamp is a manicure device used to cure light-reactive nail products. Unlike regular nail polish, which dries in the air, gel polish needs a curing process. When the right light reaches the product, the gel formula hardens into a durable, glossy coating.
This is why a nail lamp is one of the most important tools in a gel manicure routine. Without proper curing, gel nail polish may stay soft, wrinkle, peel, lift, smudge or lose shine. With the right lamp and correct technique, a gel manicure can look smoother, last longer and feel more professional.
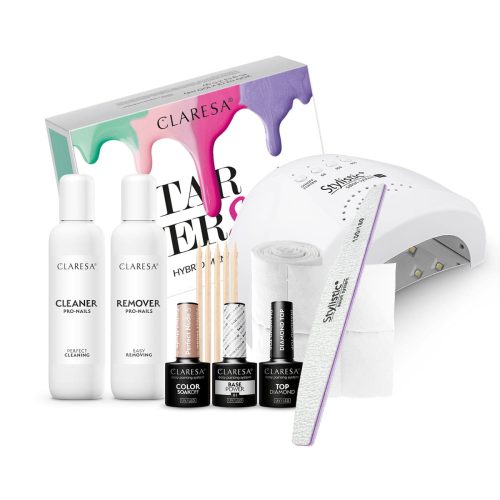
If you are building your home manicure kit, start with the essentials: a compatible nail lamp, base coat, top coat, gel polish colour, cleanser, remover, lint-free wipes, file, buffer and cuticle oil.


UV light, LED light and UV/LED nail lamps: what is the difference?
The terms UV lamp, LED lamp and UV/LED lamp are often used together, but they are not always identical. The key difference is the type of light technology used to cure the gel product.
| Type of lamp | What it means | Best for | What to check |
|---|---|---|---|
| UV nail lamp | Uses ultraviolet light to cure UV-reactive nail products. | Older or UV-compatible gel systems. | Check the product’s curing time and lamp compatibility. |
| LED nail lamp | Uses LED light at specific wavelengths to cure compatible gel products. | Many modern gel polish systems. | Not every gel product cures under every LED lamp. |
| UV/LED nail lamp | Combines curing technology designed for a wider range of UV and LED gel formulas. | Home users and salons that want more flexibility. | Still follow the exact curing time recommended for each product. |
A UV/LED lamp is often the most practical choice for a home gel polish routine because it gives you more flexibility when working with base coats, colour gels, top coats and other light-cured nail products.
Why a nail lamp matters for gel polish
Gel polish does not work like traditional nail varnish. It needs light activation to harden properly. If the lamp is too weak, incompatible, used for too short a time or unable to reach the full nail evenly, the manicure may look finished on the surface but remain under-cured underneath.
That can lead to several common problems:
- gel polish wrinkling during or after curing,
- colour staying soft or rubbery,
- top coat losing shine too quickly,
- gel nail polish peeling after a few days,
- lifting near the cuticle area,
- chipping at the free edge,
- heat spikes caused by layers that are too thick.
A good lamp does not replace correct preparation, but it supports it. The best results come from the right combination: clean nail plate, thin layers, compatible products and proper curing.
How to choose the best nail lamp for gel polish
Choosing a nail lamp can feel confusing because many devices look similar. Instead of focusing only on appearance, look at the practical features that affect your manicure.
1. Product compatibility
The most important question is not “Which lamp is the prettiest?” but “Will this lamp cure the products I use?” A lamp should be suitable for your base coat, colour coat, top coat and any strengthening or builder products you plan to use.
If you use Claresa gel polish colours, base and top products, choose a lamp designed for UV/LED manicure systems and follow the curing instructions given with each product.
2. Power and curing performance
Lamp power is often shown in watts, but wattage alone does not tell the whole story. A higher number may help, but the final curing performance also depends on the light source, diode placement, product formula, layer thickness and curing time.
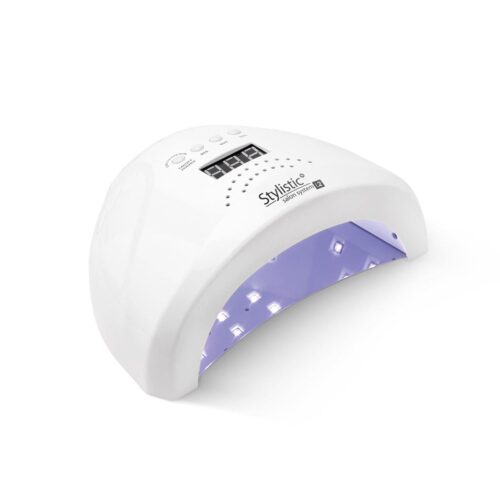
For home manicures, a 48W UV/LED nail lamp is a popular practical choice because it offers strong curing performance while still being convenient for regular use. However, always treat wattage as one factor, not the only factor.
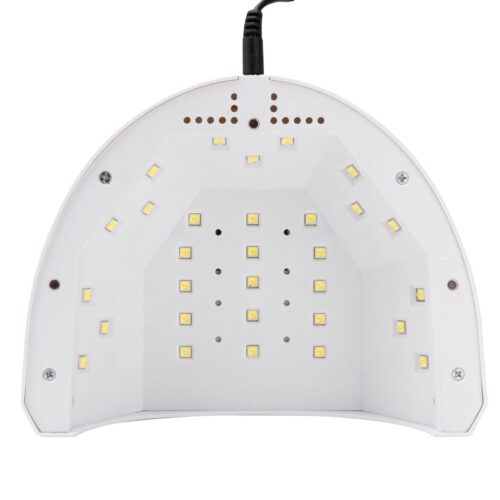
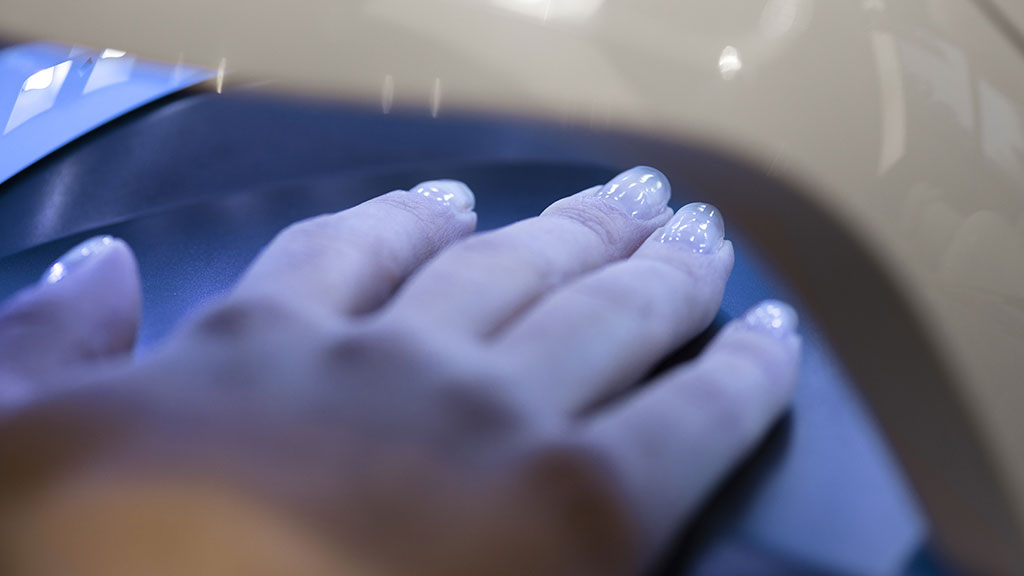
3. Even light distribution
A good nail lamp should allow light to reach the thumb, side walls and free edge of the nail. If the hand is placed badly or the light does not reach the nail evenly, some areas may cure less effectively than others.
For the best result, place the hand flat inside the lamp, avoid tilting the fingers and make sure the thumb is positioned correctly. If your thumb does not sit naturally inside the lamp, cure it separately.
4. Timer settings
Timer settings make curing easier and more consistent. Many gel polish routines use different curing times for base, colour and top coat, depending on the product and lamp. A clear timer helps you avoid guessing.
Guessing curing time is one of the most common beginner mistakes. Too short can leave the product under-cured. Too long is usually unnecessary and may make the routine less comfortable.
5. Comfortable size
The lamp should fit your hand comfortably. If you regularly do pedicures, choose a design that is also practical for toes. A detachable bottom can be useful for cleaning and for pedicure use.
6. Easy cleaning
Manicure tools should stay clean. Look for a lamp that is easy to wipe and maintain, especially if more than one person uses it. Keeping the lamp clean helps make your home manicure routine feel more professional and hygienic.
Shop nail lamps and manicure essentials
If you are ready to build a reliable home manicure setup, explore Claresa UV/LED nail lamps and manicure accessories. You can pair your lamp with gel polish colours, base and top coats, cleaner, remover, wipes and care products for a complete routine.
UV nail lamp or LED nail lamp: which one is better?
There is no single universal answer for every product. The better lamp is the one that cures your chosen gel system correctly. For many modern manicures, a UV/LED nail lamp is the most convenient option because it is designed to support a wider range of light-cured nail products.
Here is a simple way to decide:
| If you want… | Choose… | Why |
|---|---|---|
| A flexible home manicure lamp | UV/LED nail lamp | Useful for many gel polish routines and related products. |
| A lamp mainly for modern gel polish | LED or UV/LED lamp | Many gel nail polish formulas are designed for LED-compatible curing. |
| A beginner-friendly complete setup | Starter set with lamp | Reduces the risk of buying random incompatible products. |
| Manicure and pedicure use | Lamp with comfortable space and practical base | Easier to position hands and feet correctly. |
Do you need a nail lamp for every gel polish?
Yes, traditional gel polish requires a compatible nail lamp. Gel nail polish is not designed to dry naturally in the air like classic nail varnish. If a product is described as UV/LED gel polish, hybrid varnish, gel top coat or gel base coat, it normally needs curing under a suitable lamp.
If a manicure product claims to give a “gel-like” finish without a lamp, it may be a different type of polish. That can still be useful for quick manicures, but it is not the same as a cured gel polish system.
How to cure gel polish correctly under a nail lamp
Even the best nail lamp will not fix poor application. To get a neat and long-lasting manicure, focus on thin layers, clean edges and careful curing.
Step 1: Prepare the natural nail
Shape the nail, gently tidy the cuticle area and remove shine from the nail plate if required by your system. Dust and oil can stop the base coat from bonding properly, so preparation is essential.
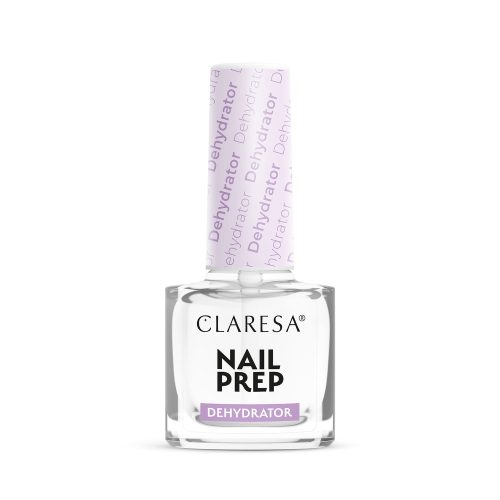
Step 2: Cleanse and dehydrate
Use the correct prep product to remove residue from the nail plate. Avoid touching the nail surface with your fingers after cleansing, because skin oils can affect adhesion.
Step 3: Apply a thin base coat
The base coat should be thin and even. Do not flood the cuticle area. Leave a tiny clean margin around the skin and cure the base coat according to the product instructions.
Step 4: Apply the first thin colour layer
With gel polish, thin layers are better than thick layers. A thick coat may look faster, but it can wrinkle, heat up or cure unevenly. Apply a smooth first layer of colour and cure it fully.
Step 5: Apply the second colour layer
A second thin coat usually gives better coverage and a more even finish. Dark, white, pastel or highly pigmented shades may need extra care because thick pigment layers can be harder to cure correctly.
Step 6: Seal with top coat
Apply top coat evenly and cap the free edge if your nail shape allows it. Cure fully under the lamp. If your top coat has a sticky layer, remove it as instructed. If it is a no-wipe top coat, avoid touching it until curing is complete.
Step 7: Finish with cuticle oil
After the manicure is fully cured and finished, apply cuticle oil around the nail. This keeps the skin looking neat and makes the manicure look more polished.
Best products to place after this section
This is a strong place in the article to show products connected with the routine: a UV/LED nail lamp, starter sets with lamp, base coat, top coat, cleaner, remover and selected gel polish shades. Readers who have just learned the steps are more likely to understand why each product matters.
How long should you cure gel nail polish?
Curing time depends on the gel polish formula, the colour, the lamp type and the lamp power. Some products cure quickly under a compatible LED lamp, while others require longer UV/LED curing. Always follow the curing time recommended for the product you are using.
As a general rule, do not shorten curing time just because the surface looks shiny. Gel polish can appear set on top while still not being fully cured underneath. That is especially important with dark colours, white gel polish, opaque pastels and thick coats.
Why does gel polish wrinkle under a nail lamp?
Wrinkling usually happens when the gel polish layer is too thick, too pigmented for the curing time, or not cured with a compatible lamp. The top of the layer begins to set while the product underneath stays softer, creating a wrinkled or rippled surface.
To reduce wrinkling:
- apply thinner layers,
- avoid overloading the brush,
- cure each layer for the full recommended time,
- use a compatible UV/LED nail lamp,
- be especially careful with dark, white and highly pigmented shades.
Why does gel polish peel even when I use a lamp?
A lamp is essential, but peeling is not always a lamp problem. Gel polish can peel when the nail plate has oil, dust or moisture on it, when the base coat touches the skin, when the free edge is not sealed, or when the layers are too thick.
| Problem | Likely cause | How to improve it |
|---|---|---|
| Peeling after a few days | Oil, dust or weak nail prep | Cleanse carefully and avoid touching the nail plate. |
| Lifting near the cuticle | Product touched skin or cuticle | Leave a tiny clean margin around the nail. |
| Chipping at the tips | Free edge not sealed | Cap the edge with base, colour and top coat when possible. |
| Wrinkled colour | Layer too thick or under-cured | Use thinner coats and full curing time. |
| Dull top coat | Incorrect curing or wrong finish step | Follow the top coat instructions carefully. |
Is UV light for nails safe?
UV and LED nail lamps use light to cure gel products. For most users, exposure during a manicure is short, but it is still sensible to use nail lamps correctly and not more than necessary. Follow the manufacturer’s instructions, do not look directly into the light, avoid curing skin unnecessarily and consider protective measures if you are sensitive to UV exposure.
If you have a skin condition, unusual sensitivity, a history of reactions or any medical concern, ask a qualified professional before using UV or LED nail lamps. A beauty article can guide your buying and technique, but it should not replace personal medical advice.
Can a nail lamp damage gel polish?
A lamp usually does not damage gel polish when used correctly. Problems are more likely to come from incompatible products, incorrect curing time, very thick application or poor nail preparation. However, over-curing beyond the recommended time is not a shortcut to better wear. It is better to apply properly and follow the instructions.
Can I use any UV lamp for gel nails?
Not every lamp is ideal for every gel system. A weak or old lamp may not cure modern products properly. A lamp designed for one type of product may not be the best choice for another. That is why compatibility matters more than guessing.
If your manicure keeps peeling, wrinkling or staying soft despite good preparation, your lamp may not be suitable for your gel polish. It may also be old, weak, poorly positioned or used for too short a curing time.
What wattage is best for a nail lamp?
Many home users choose a 48W UV/LED lamp because it is practical for regular gel polish manicures. However, wattage should not be your only buying criterion. Look at the overall design, compatibility, diode placement, timers, size and ease of use.
A lower-quality lamp with a high wattage number is not automatically better than a well-designed lamp with reliable curing performance. The best lamp is the one that cures your chosen products evenly and consistently.
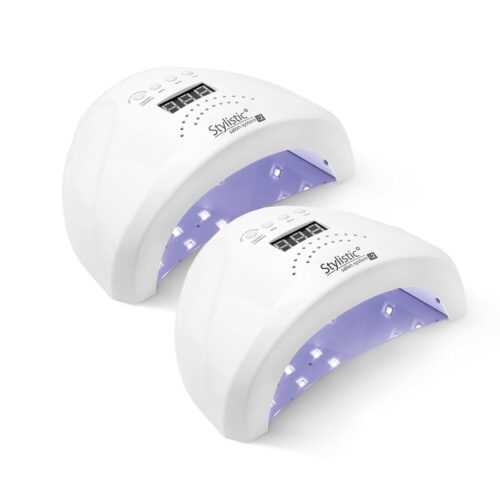
Nail lamp for beginners: should you buy a lamp separately or choose a starter set?
If you are new to gel polish, a starter set with a lamp can be easier than buying every item separately. A complete set usually helps you avoid missing essential products such as base coat, top coat, cleaner, remover, wipes or a compatible lamp.
Beginners often make the mistake of buying beautiful colours first and only later realising they also need a lamp, base, top and removal products. A complete routine gives better results and makes the first manicure less stressful.
For an easier first setup, explore gel polish starter sets with lamp. They are designed for people who want a more complete at-home gel manicure routine from the beginning.


What to use with your nail lamp
A nail lamp is only one part of the system. For a complete gel manicure, you normally need:
- base coat for adhesion,
- gel polish colour,
- top coat for shine and protection,
- cleaner or cleanser, depending on the system,
- remover for safe removal,
- lint-free wipes,
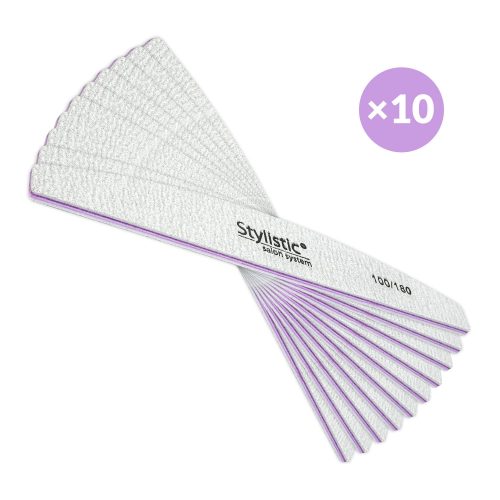
- file and buffer,
- wooden stick or cuticle tool,
- cuticle oil for finishing care.
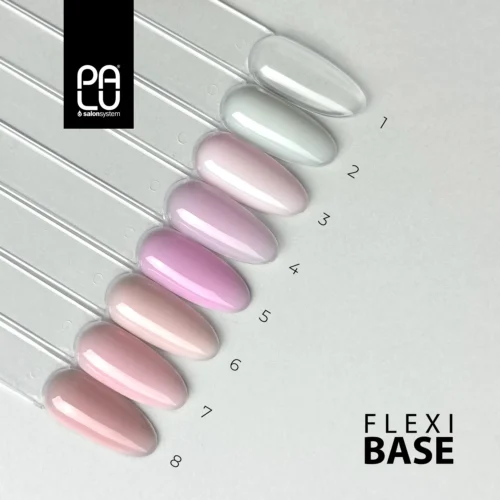
If you already have a lamp, the next step is choosing colours. Claresa offers a wide range of gel polish shades, from soft nude and pink tones to reds, burgundies, pastels, glitters and seasonal colours.
Best gel polish colours to cure under a nail lamp
Most gel polish colours can look beautiful when applied in thin, even layers and cured correctly. Some shades are more beginner-friendly, while others need a little more precision.
| Colour type | Why it works | Application tip |
|---|---|---|
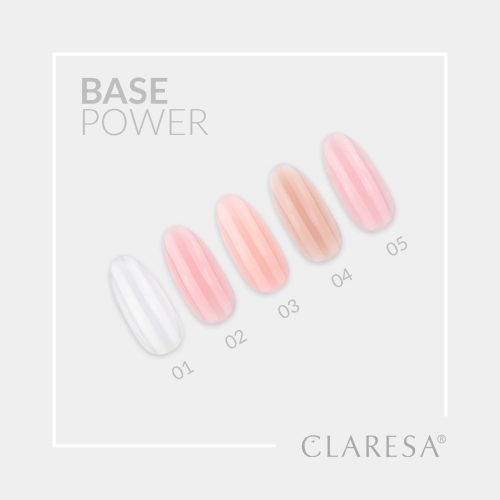
| Nude gel polish | Soft, elegant and forgiving for beginners. | Use two thin coats for a clean everyday look. |
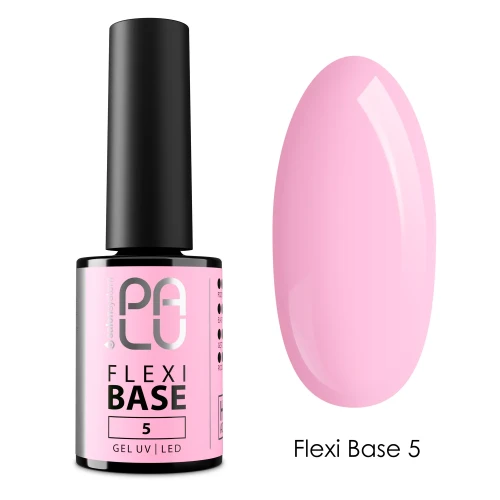
| Pink gel polish | Fresh, feminine and easy to wear. | Keep layers thin for a smooth finish. |
| Red gel polish | Classic, confident and timeless. | Clean the side walls before curing. |
| White gel polish | Perfect for French tips and minimalist nails. | Apply very thin layers to avoid wrinkling. |
| Black gel polish | Bold, glossy and dramatic. | Cure carefully because dark pigment needs precision. |
| Glitter gel polish | Great for parties and accent nails. | Distribute glitter evenly before curing. |
Common nail lamp mistakes to avoid
Using thick layers of gel polish
Thick layers are one of the fastest ways to ruin a gel manicure. They can wrinkle, heat up, cure unevenly or peel too soon. Two thin coats usually look better than one heavy coat.
Removing the hand too early
If you remove your hand from the lamp before the timer ends, the product may not cure properly. Keep the hand still and flat until the full curing time is complete.
Putting the thumb in the wrong position
The thumb often sits at an angle, so it may not receive the same light as the other nails. If needed, cure thumbs separately for a more even result.
Letting gel polish touch the skin
If product touches the cuticle or side wall, it can lift quickly. Clean up edges before curing, because once gel polish is cured, it is much harder to correct.
Using old or incompatible lamps
If your lamp no longer cures products properly, your manicure may fail even when your technique is good. If problems repeat across several products, review your lamp, curing time and compatibility.

How to make your gel manicure last longer with the right lamp technique
A long-lasting gel manicure is not about one single trick. It comes from a careful routine. Use the right nail lamp, prepare the nail plate well, apply thin layers, cure fully and protect the finished manicure from harsh habits.
- Do not apply gel polish over oily nails.
- Do not flood the cuticle area.
- Do not cure thick coats.
- Do not peel gel polish off your nails.
- Do not skip top coat.
- Do not guess curing time.
- Do not use products that are not compatible with your lamp.
When you follow the system correctly, your lamp helps the gel polish form a smooth, glossy and more durable finish.
Nail lamp buying checklist
Before choosing a nail lamp, use this simple checklist:
- Is it compatible with the gel polish products I want to use?
- Does it have suitable timer settings?
- Is the hand space comfortable?
- Can it cure thumbs and side nails evenly?
- Is it practical for pedicures if I need that?
- Is it easy to clean?
- Does it come from a manicure brand I trust?
- Would a starter set with lamp be easier for my first purchase?
Who should buy a UV/LED nail lamp?
A UV/LED nail lamp is useful for anyone who wants to create gel polish manicures at home or offer manicure services in a more organised way. It is especially helpful if you want longer-lasting colour, a glossy finish and more control than regular air-drying nail polish can offer.
A lamp is also useful if you enjoy seasonal nail colours, French manicures, glitter accents, bridal nails, classic red nails or clean nude manicures. Once you understand how to cure correctly, you can create many styles with the same basic setup.
When should you replace your nail lamp?
You may need to replace your nail lamp if your products no longer cure correctly, if curing becomes inconsistent, if the device is damaged, if timers stop working or if you want a more practical design for regular use.
If your gel polish repeatedly wrinkles, stays soft or peels despite correct preparation and thin layers, do not blame the colour immediately. Check your lamp, curing time, product compatibility and application technique.
Final thoughts: the right nail lamp makes gel polish easier
A nail lamp is not just a gadget. It is the core tool that turns gel polish from a liquid layer into a glossy, durable manicure. When you choose a compatible UV/LED lamp and use it with the right technique, your gel nail polish routine becomes easier, cleaner and more predictable.
For the best results, pair your lamp with quality base coat, top coat, cleaner, remover and colours you love. Explore Claresa nail lamps and manicure essentials to build your routine, then choose your favourite gel polish shades for a manicure that looks polished from base to top coat.


Nail lamp FAQ
What is a nail lamp used for?
A nail lamp is used to cure gel polish, gel nail polish, base coats, top coats and other light-cured nail products. It helps the product harden into a durable manicure finish.
Do I need a nail lamp for gel polish?
Yes. Most gel polish products need a compatible UV or LED nail lamp. Gel polish does not dry in the air like regular nail polish.
What is the best nail lamp for gel polish?
The best nail lamp is one that is compatible with your gel polish system, cures evenly, has practical timer settings and is comfortable to use. A UV/LED lamp is often a flexible choice for home manicures.
Is a UV nail lamp the same as an LED nail lamp?
No. UV and LED lamps use different light technologies. Many modern lamps are UV/LED devices, designed to cure a wider range of compatible gel products.
Can I use any nail lamp for any gel polish?
Not always. You should check product compatibility and curing instructions. Some products require specific light conditions or curing times.
Why is my gel polish not curing under the lamp?
Possible reasons include thick layers, too short curing time, an incompatible lamp, weak lamp performance, highly pigmented colour or incorrect product use.
Why does gel polish wrinkle in the lamp?
Gel polish often wrinkles when the layer is too thick or not cured correctly. Apply thin coats and cure each layer fully.
How long should I cure gel polish?
Curing time depends on the product and lamp. Always follow the instructions for the base coat, colour coat and top coat you are using.
Can gel polish dry without a nail lamp?
No. True gel polish needs a compatible lamp to cure. Products that dry without a lamp are usually regular polish or gel-effect polish, not classic gel polish.
Is a 48W nail lamp good for home use?
A 48W UV/LED nail lamp is a popular practical option for home gel manicures, but power is not the only factor. Compatibility, light distribution and correct curing time also matter.
Can I cure my thumb with the other nails?
You can if the thumb sits correctly inside the lamp. If it tilts away from the light, cure thumbs separately for a more even result.
Why does my gel polish peel after a few days?
Peeling can happen because of poor nail preparation, oil or dust on the nail, product touching the skin, thick layers, under-curing or not sealing the free edge.
Can I use a nail lamp for pedicures?
Many nail lamps can be used for pedicures if the design allows comfortable foot placement. A detachable base can make pedicure use easier.
Should beginners buy a starter set with a lamp?
A starter set with a lamp can be a good choice for beginners because it includes several essentials needed for a complete gel polish routine.
What products do I need with a nail lamp?
You usually need base coat, gel polish colour, top coat, cleaner, remover, wipes, file, buffer and cuticle oil. A starter set can make this easier.
Does a nail lamp work with regular nail polish?
A nail lamp is not needed for regular nail polish. Traditional nail polish dries by air evaporation, not by UV or LED curing.
Can an old nail lamp stop curing properly?
Yes. If a lamp becomes weak, damaged or inconsistent, it may stop curing products properly. Repeated curing problems can be a sign to review or replace your lamp.
What is the difference between a nail lamp and a gel nail polish lamp?
In everyday search language, people often use both terms for the same device: a lamp used to cure gel nail polish. The important point is compatibility with the products you use.