


Nail Looks & Colour Inspiration
How to Apply Brown Gel Polish Without Streaks, Shrinking or Wrinkling
Sep
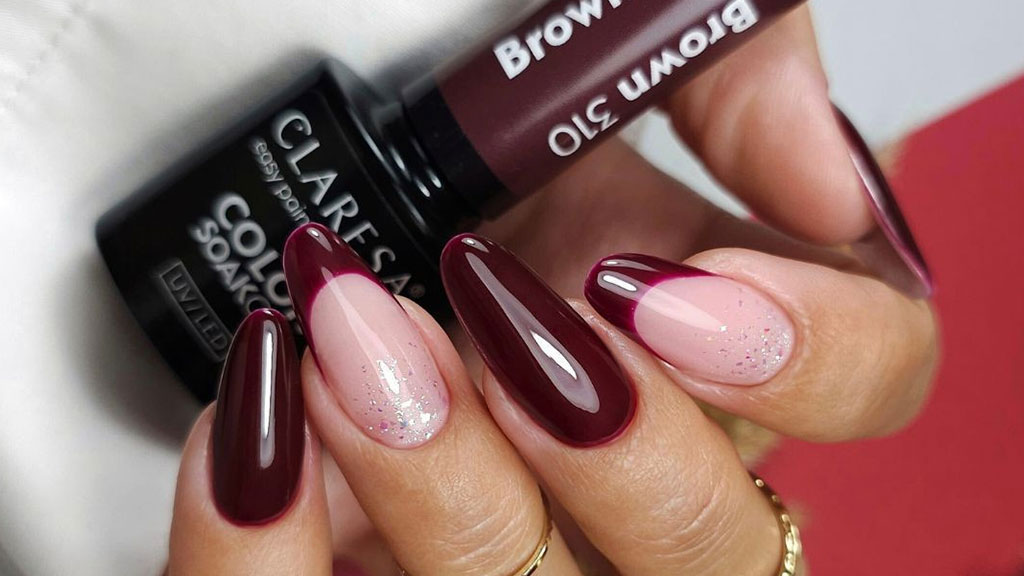
Brown gel polish can create an exceptionally smooth, rich and elegant manicure, but darker and highly pigmented shades can also make application mistakes more visible. Streaks, shrinking before curing, wrinkling, uneven opacity and product flooding around the cuticles usually have identifiable causes — and most of them can be prevented with controlled application, correct layer thickness and proper curing.
If your brown gel polish looks uneven, the solution is usually not to apply a thicker coat. A smooth base, thin colour layers, controlled brush pressure and correct curing normally produce a cleaner and more even result.
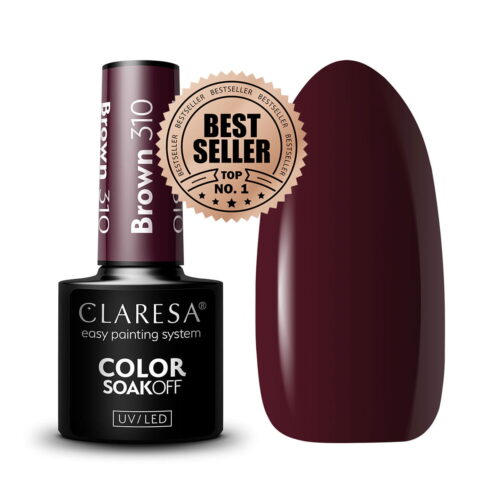
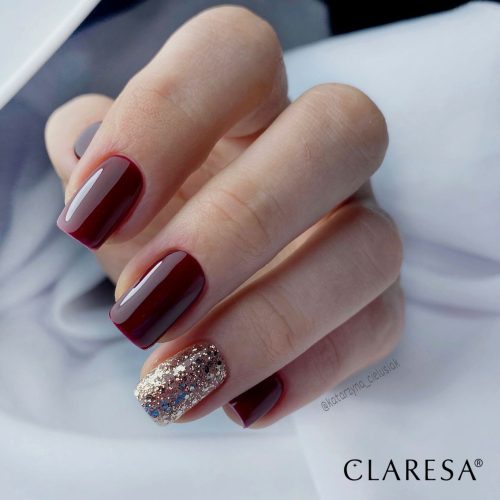
Explore the Claresa Brown Gel Polish collection and use this guide to get the best possible finish from your chosen brown shade.
Brown Gel Polish Application Problems at a Glance
| Problem | Common reason | What to check first |
|---|---|---|
| Brown polish looks streaky | Uneven brush pressure, irregular base surface or trying to create opacity in one coat | Use a smooth base and apply two thin, controlled colour layers |
| Polish shrinks before curing | The colour is moving away from the free edge, cuticle or sidewalls before entering the lamp | Check layer thickness, surface preparation and how long the uncured polish sits before curing |
| Brown gel polish wrinkles | The surface begins curing while deeper product remains insufficiently cured | Check layer thickness, curing time, lamp compatibility and finger position |
| Dark polish floods the cuticle | Too much product on the brush or slow application near the skin | Use less product near the cuticle and cure promptly |
| Brown polish looks patchy | Uneven layer thickness or excessive brush pressure | Apply thin layers with light, consistent pressure |
| Colour is not opaque enough | The shade needs another thin coat | Do not compensate with one excessively thick layer |
| Colour looks uneven after curing | The base surface may not have been smooth or the colour layer may have moved before curing | Check the manicure from several angles before placing the hand in the lamp |
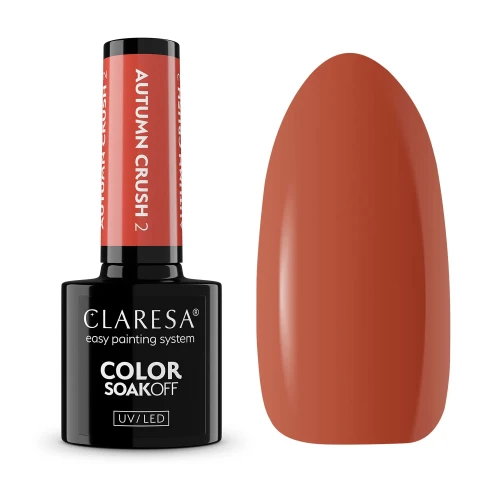
Shop Brown Gel Polish Shades
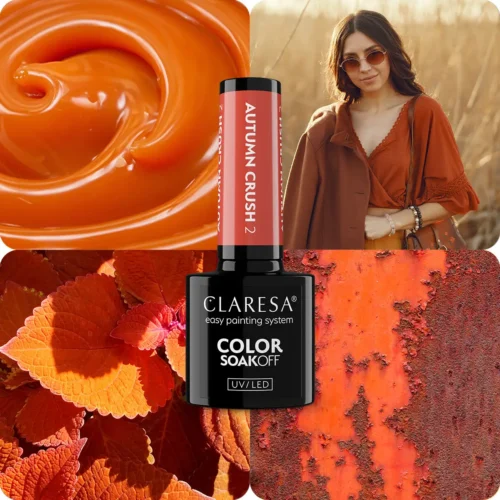
Why Brown Gel Polish Can Be More Difficult to Apply Evenly
Brown gel polish is not automatically more difficult to use than other colours, but some brown shades make imperfections much easier to see.
Deep chocolate and espresso colours create strong contrast against the skin, so small gaps near the cuticle, uneven sidewalls or differences in opacity can become more noticeable. Lighter caramel, taupe and milky brown shades may appear semi-transparent during the first coat, which can make streaking more visible before the second layer is applied.
The goal should therefore be controlled, even layers rather than instant opacity.
If you are still deciding between chocolate, mocha, caramel, espresso or another brown family, do not duplicate that decision inside the application process. Our separate guide explains how to choose brown gel polish and chocolate nail colours. This article focuses specifically on achieving an even application once you have selected your shade.
How to Apply Brown Gel Polish Evenly Step by Step
1. Check the natural nail and surrounding skin
Before beginning, make sure the natural nail and surrounding skin are in suitable condition for a gel manicure.
Do not apply gel products over open or bleeding skin, visible inflammation, suspected infection, unexplained discolouration or a nail that has significantly separated from the nail bed.
2. Shape the nails before applying colour
Establish the desired nail length and shape before applying the gel system.
This is particularly useful with dark brown shades because strong colour contrast can make differences between nail shapes more visible. Check the free edge and sidewalls so the finished manicure looks balanced before any colour is applied.
3. Prepare the cuticle area carefully
Product applied over cuticle tissue is more likely to create an untidy edge and can contribute to lifting. Prepare the cuticle area carefully and remove only the non-living tissue attached to the nail plate.
Keep uncured gel products away from the surrounding skin throughout the manicure.
If you are unsure which preparation product belongs at each stage, read our guide to Cuticle Remover, Dehydrator and Primer.
4. Prepare a smooth nail surface
Brown colour will follow the surface underneath it. If the base is visibly uneven, the colour layer can emphasise those irregularities rather than hide them.
Prepare the natural nail according to the manicure system, remove filing dust thoroughly and avoid aggressive over-filing of the natural nail.
The nail plate should be clean and ready for the selected base system before colour is applied.
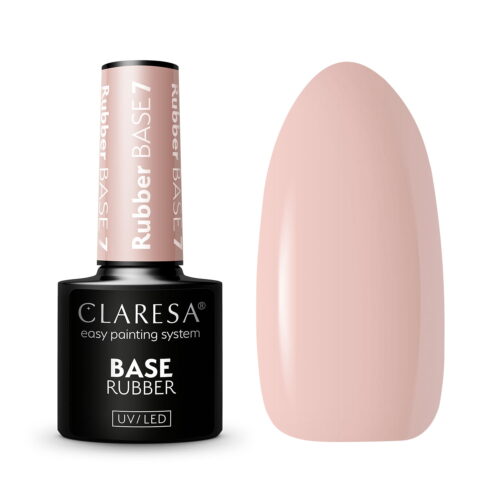
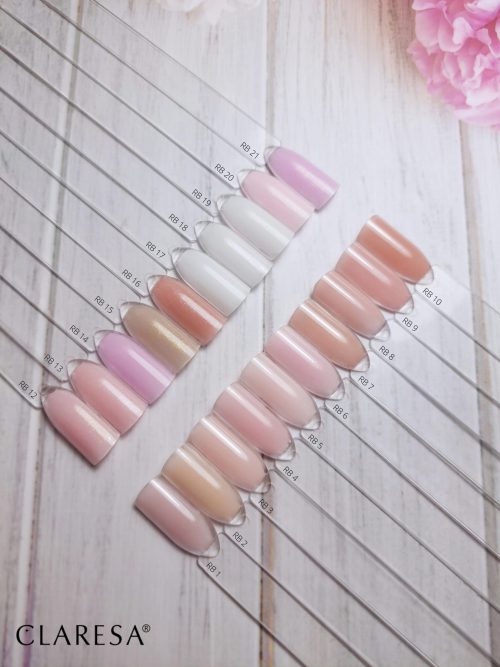
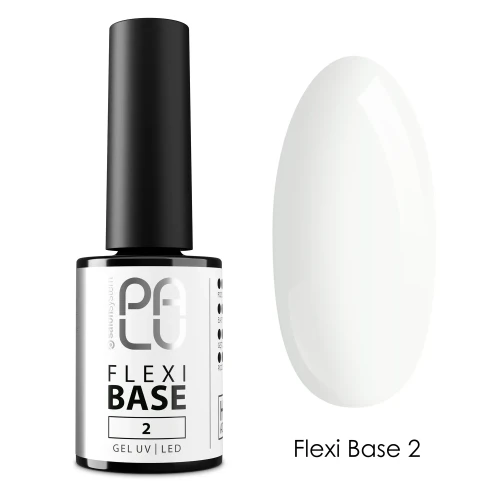
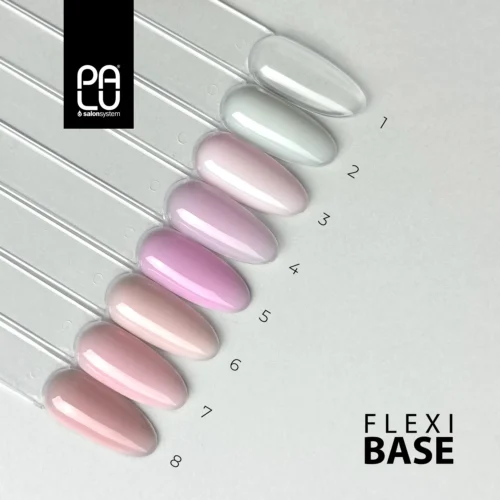
5. Apply an appropriate gel base
Apply a thin, controlled layer of a compatible base product and cure it according to the product instructions.
The base should create a smooth foundation without touching the cuticle or surrounding skin. If additional levelling is required, use a base that is designed for that purpose rather than trying to correct an uneven surface with a thick colour layer.
Bases for an Even Brown Gel Manicure


6. Apply the first brown colour layer thinly
Do not try to achieve complete opacity immediately.
Remove excess product from the brush if necessary and apply a thin, controlled layer. Begin close to the cuticle without touching the skin, then guide the colour towards the free edge.
Use consistent brush pressure. Pressing too firmly can remove colour from one part of the nail while leaving more product elsewhere.
A first coat that looks slightly translucent can still be correct. The second layer is used to build colour depth and uniform coverage.
7. Check the sidewalls and free edge before curing
Dark brown polish can hide small application errors when viewed directly from above.
Before curing, look at the nail from several angles and check:
- the cuticle line;
- both sidewalls;
- the centre of the nail;
- the free edge;
- whether one area contains noticeably more product than another.
If uncured gel has touched the skin, remove it completely before curing.
8. Cure the first layer correctly
Place the hand correctly inside a compatible UV/LED lamp and cure according to the instructions for the product being used.
Do not determine curing time from lamp wattage alone. Product chemistry, pigmentation, lamp design, layer thickness and finger position can all affect curing.
Dark and highly pigmented shades make controlled layer thickness especially important.
For more information about correct curing, see the Claresa UV & LED Nail Lamp Guide.
9. Apply the second thin colour coat
The second coat normally improves opacity, depth and colour uniformity.
Apply it using the same controlled technique as the first layer. Avoid adding a large amount of polish simply because a small area still looks lighter.
If necessary, gently guide the colour into the lighter area while keeping the complete layer thin and balanced.
10. Cure again according to the product instructions
Check the cuticle line and sidewalls before curing the second coat. Make sure the hand is positioned correctly inside the lamp and cure for the specified time.
11. Finish with a compatible top coat
A top coat protects the colour and determines the final surface effect of the manicure.
A high-gloss finish can emphasise the depth of chocolate and espresso shades, while a matte finish changes the same brown colour into a softer, more muted effect.
Top Coats for Brown Gel Polish


Why Does Brown Gel Polish Look Streaky?
Brown gel polish usually looks streaky when the colour layer is uneven rather than simply because there is too little product.
Possible causes include:
- uneven pressure on the brush;
- pressing the brush too firmly against the nail;
- repeatedly brushing over the same area;
- trying to achieve complete opacity in one coat;
- an uneven base surface;
- applying too little polish in some areas and too much in others;
- insufficient distribution of pigment where the product instructions require mixing or rolling before use.
The most reliable approach is usually to create a smooth foundation and apply two thin colour layers rather than one thick layer.
Allow the product to settle briefly when appropriate, but do not leave a self-levelling colour uncured for so long that it begins moving away from the areas where you placed it.
Browse the Claresa Brown Gel Polish shades to compare the available brown colours for your next manicure.
Why Does Brown Gel Polish Shrink Before Curing?
Shrinking happens when uncured gel polish pulls away from the free edge, sidewalls or cuticle area before curing.
Possible causes include:
- the colour layer is too thick;
- the surface underneath is excessively slippery;
- too much time passes between application and curing;
- the nail surface contains contamination;
- the colour has been repeatedly worked with the brush;
- the manicure products are not behaving well together.
When working with a shade that tends to move, apply thin layers and place the hand into the lamp promptly after the colour has been positioned correctly.
If necessary, work on fewer nails at a time rather than allowing the uncured polish to sit while the entire hand is completed.
Why Does Brown Gel Polish Wrinkle After Curing?
Wrinkling can indicate that the surface of the colour layer has started to cure while the material underneath has not cured correctly.
Common reasons include:
- an excessively thick colour layer;
- high pigmentation;
- insufficient curing time;
- an incompatible or poorly functioning curing lamp;
- incorrect finger placement inside the lamp;
- the thumb being angled away from the light source.
Do not cover visibly wrinkled, soft or incorrectly cured material with another coat.
Remove the affected material safely, identify the likely cause and reapply the colour using a controlled layer.
Why Does Dark Brown Gel Polish Flood the Cuticles?
Dark polish makes even a very small amount of product around the cuticle immediately visible.
Flooding can happen when:
- there is too much polish on the brush;
- the brush is placed directly against the cuticle with too much pressure;
- the finger is angled downwards;
- the product is allowed to move for too long before curing;
- all five nails are completed before a mobile formula is cured.
Use less product near the cuticle and guide the brush carefully towards the margin rather than starting with a large amount of gel directly beside the skin.
If colour reaches the skin, remove it completely before placing the hand inside the lamp.
How to Make Brown Gel Polish Look More Opaque
Build opacity with thin cured layers rather than one thick coat.
A simple approach is:
- create a smooth and correctly cured base;
- apply the first brown colour layer thinly;
- check the edges and cure completely;
- apply a second controlled colour layer;
- check the nail from several angles;
- cure according to the product instructions;
- finish with a compatible top coat.
If the shade remains deliberately translucent after the recommended application, do not automatically increase layer thickness beyond what the product system allows.
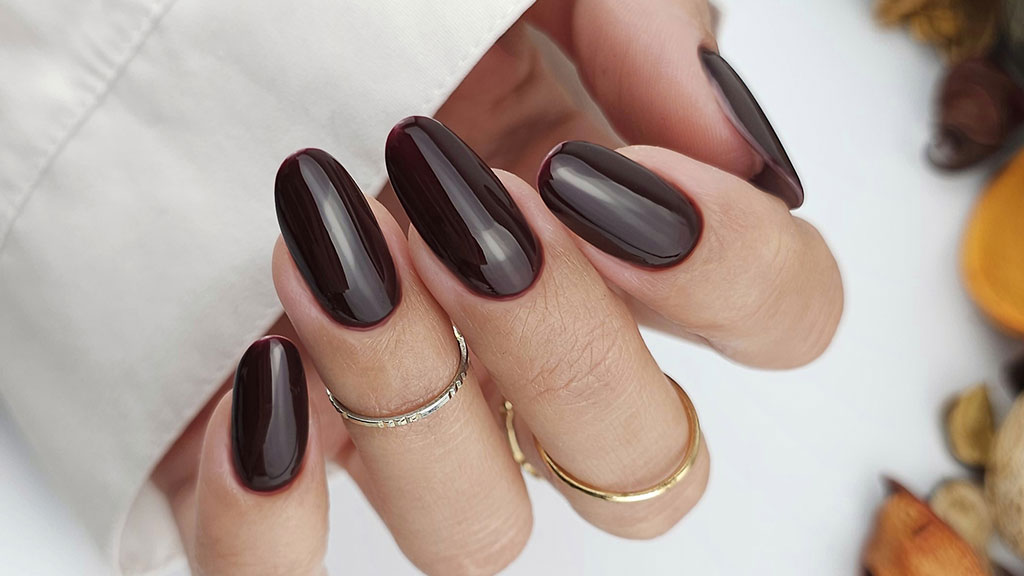
How Many Coats of Brown Gel Polish Should You Apply?
Many gel polish manicures use two thin colour coats, but the exact application depends on the pigmentation, formula and instructions for the individual product.
The objective is not to reach a specific number of layers. The objective is to achieve even colour while keeping every layer within the thickness that can be cured correctly.
A highly pigmented dark chocolate shade may achieve strong coverage quickly, while a lighter caramel, taupe or semi-transparent brown may naturally appear softer.
Should You Use a Nude Base Under Brown Gel Polish?
A nude or neutral base can be useful underneath some lighter or semi-transparent brown shades when the products are compatible.
It can provide a more uniform background and may influence the appearance of caramel, latte or softer brown shades.
However, a coloured base should not be added automatically to every brown manicure. Use it when it contributes to the desired result and when it is compatible with the chosen gel system.
Does Dark Brown Gel Polish Need Longer Curing?
Do not automatically extend curing time simply because the colour is dark.
Use the curing time specified for the exact product and a compatible lamp. The more important factors are correct layer thickness, lamp compatibility and correct hand position.
Applying a very thick dark layer and attempting to compensate with extra curing time is not a substitute for correct application.


Why Does Brown Gel Polish Chip at the Free Edge?
Chipping can depend on the complete manicure system rather than the brown pigment itself.
Check:
- natural nail preparation;
- the condition of the free edge;
- base compatibility;
- colour layer thickness;
- correct curing;
- top coat application;
- nail length and architecture;
- daily mechanical pressure on the nails.
Dark brown polish can make a small chip more visually obvious because of the strong contrast between the colour and natural nail underneath.
Can Brown Gel Polish Be Finished with a Matte Top Coat?
Yes. A compatible matte top coat can transform chocolate, espresso, mocha, taupe or terracotta brown into a softer, velvety-looking finish.
For maximum colour depth and visible reflection, choose a glossy top. For a muted finish, choose matte. Decorative and shimmer tops can create additional effects without changing the underlying brown gel polish.
Explore the Claresa Top Coat collection to choose the finish that best suits your brown manicure.
Brown Gel Polish Application Checklist
- Prepare the natural nail and cuticle area carefully.
- Create a smooth base before applying dark colour.
- Apply the first brown coat thinly.
- Use light and consistent brush pressure.
- Check the cuticle and sidewalls before curing.
- Cure completely using a compatible lamp.
- Apply a second thin coat to build opacity.
- Check the entire nail again before curing.
- Finish with a compatible top coat.
- Keep uncured gel away from the skin throughout the process.
Frequently Asked Questions About Applying Brown Gel Polish
Why is my brown gel polish streaky?
Streaking is commonly caused by uneven brush pressure, an irregular base surface, repeatedly working the same area or attempting to create full opacity with one thick coat. A smooth base and two thin colour layers usually create a more even result.
Why does brown gel polish shrink before curing?
Gel polish can shrink when the uncured colour moves away from the free edge, sidewall or cuticle. Layer thickness, surface condition, application speed and product compatibility should all be checked.
Why does dark brown gel polish wrinkle?
Wrinkling can occur when a colour layer is too thick or does not cure correctly throughout. Check layer thickness, curing time, lamp compatibility and finger position.
How do you apply dark gel polish without streaks?
Create a smooth foundation, apply thin coats, use consistent brush pressure and avoid repeatedly brushing the same area. Cure each layer completely before applying the next coat.
How many coats of brown gel polish do you need?
Many manicures use two thin colour coats, but the exact number depends on the pigmentation and instructions for the selected product.
Should the first coat of brown gel polish be fully opaque?
No. The first coat does not always need complete opacity. A controlled second layer can build colour much more safely than one excessively thick first coat.
Can you use a nude base under brown gel polish?
Yes, when the products are compatible. A neutral or nude base can provide a more uniform background underneath lighter or semi-transparent brown shades.
Why does brown gel polish move away from the cuticle?
The colour may be shrinking or self-levelling before curing. Apply a thinner layer, check the surface underneath and cure promptly once the colour has been positioned correctly.
Why does brown gel polish flood the cuticle?
This usually happens when too much product is placed near the cuticle or when the uncured polish is allowed to move before curing. Use less product and maintain controlled brush pressure near the skin.
Does dark brown polish need more time in the lamp?
Follow the curing time specified for the individual product. Do not automatically increase curing time simply because the colour is dark.
Can brown gel polish be glossy or matte?
Yes. A compatible glossy top enhances depth and reflection, while a matte top creates a softer and more muted brown finish.
What should I do if brown gel polish wrinkles after curing?
Do not cover the wrinkled layer with more product. Remove the affected material safely and check layer thickness, lamp compatibility and curing before reapplying.
Get a Smooth, Even Brown Gel Manicure
The most important rule when applying brown gel polish is simple: control the colour instead of trying to create instant opacity.
A smooth base, thin layers, consistent brush pressure and correct curing can prevent many of the problems associated with dark and highly pigmented colours. If the first layer is slightly translucent, allow the second controlled coat to build the final depth instead of increasing the thickness of the first one.
Discover the complete Claresa Brown Gel Polish collection and choose your next chocolate, mocha or brown manicure colour.
Shop Claresa Brown Gel Polish

For inspiration and help choosing between different brown colour families, continue with our guide to Brown Gel Polish and Chocolate Nails: Mocha, Caramel and Espresso Shades.
Important: Always follow the directions and safety information supplied with the individual gel product. Use a compatible curing system and avoid contact between uncured gel products and the skin.