

Nails
How to Do Ombre Nails with Gel Nail Polish – Step by Step Guide

Aug
Ombre nails are one of the most beautiful and versatile nail art techniques you can try at home. The smooth gradient effect, blending one colour into another, makes your manicure look chic, modern, and endlessly customizable. Whether you prefer soft pastel transitions, bold neon blends, or timeless nude tones, ombre nails are a perfect way to express yourself. With the right tools, patience, and high-quality products like Claresa gel nail polishes, you can achieve salon-worthy ombre nails without leaving your home. In this step-by-step guide, you’ll learn two popular methods of creating ombre nails: with a sponge and with a brush.
What You Need to Get Started
Before you dive in, make sure you have the essentials ready:
- Claresa Base – for proper adhesion and nail protection.
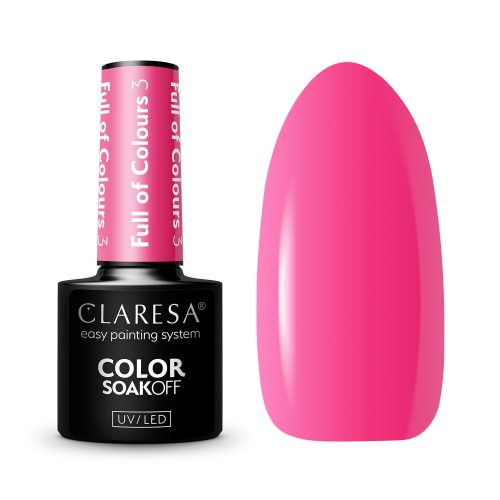
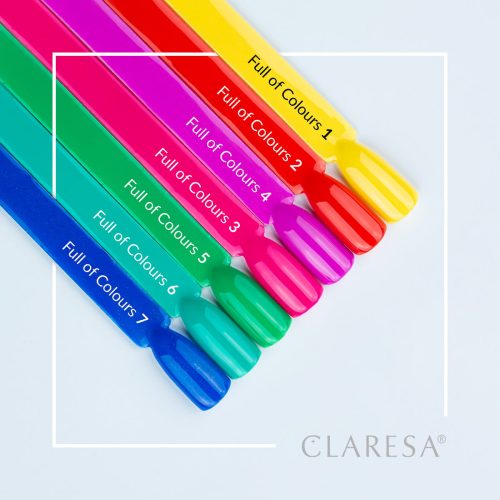
- Two or more Claresa Gel Nail Polishes – choose colors that complement each other (e.g., nude + pink, blue + white, purple + glitter).
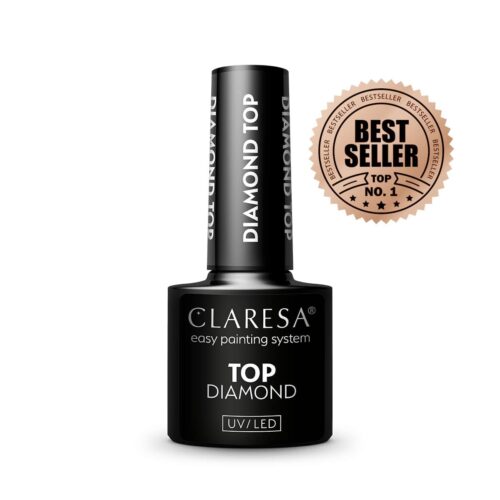
- Claresa Top Coat – for a glossy, long-lasting finish.
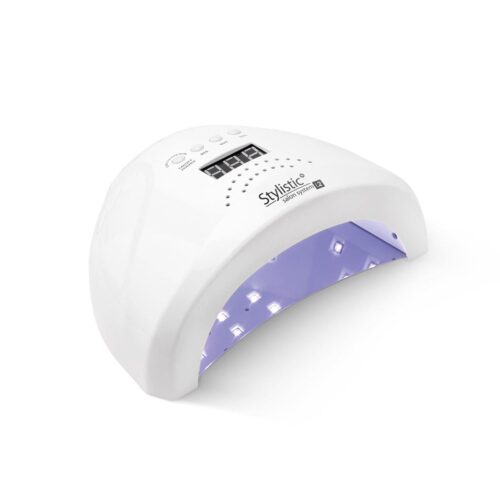
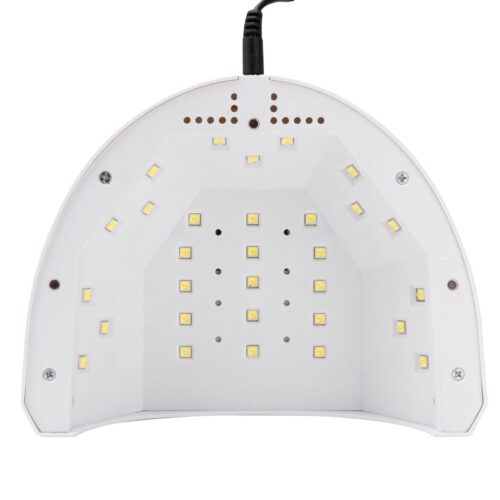
- UV/LED lamp – to cure the gel polish layers.
- Nail file and buffer – for shaping and smoothing the nail surface.
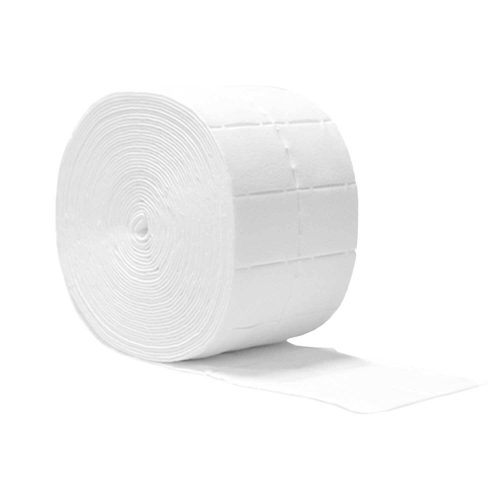
- Lint-free wipes and cleaner – to remove dust and sticky layer
- Makeup sponge or nail art sponge – if using the sponge method.
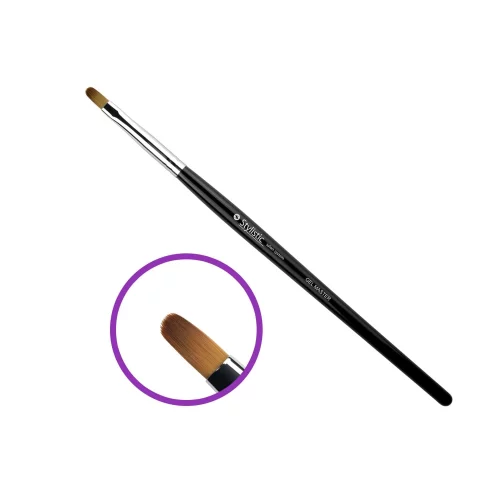
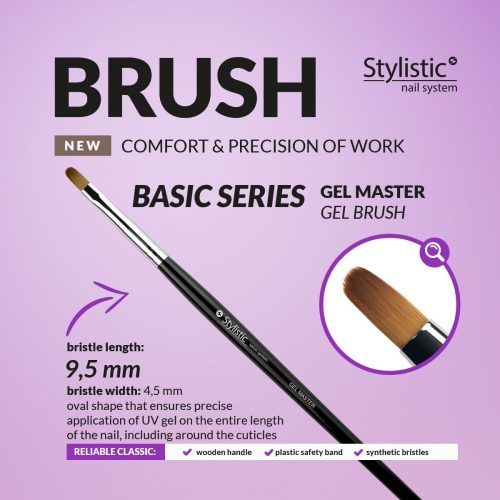
- Flat nail art brush (or ombre brush) – if using the brush method.
- Optional: Claresa Protection Gum – to protect the skin around nails from mess.

Step 1: Nail Preparation
A perfect manicure starts with proper nail prep:
- Clean and shape your nails with a file. Decide on the shape you love – square, almond, oval etc.
- Push back cuticles with a pusher or bamboo nail stick and carefully remove excess skin for a clean base.
- Buff the nail plate gently to remove shine. This helps the base coat stick better.
- Cleanse the nails with a lint-free wipe soaked in cleaner.
👉 Tip: Taking time to prep your nails ensures your Claresa gel nail polish will last longer without lifting or chipping.

Step 2: Base Coat Application
- Apply a thin layer of Claresa Base Coat.
- Cure under a UV/LED lamp according to the instructions.
- Do not wipe the sticky layer – it will help the next coat adhere better.


Step 3: Apply the First Colour
- Choose the lighter shade of Claresa gel polish as your base colour. For example, if you want pink fading into purple, apply the pink first.
- Apply one or two thin layers of this shade, curing each layer under the lamp. This will create the foundation for your ombre.
Method 1: Ombre with a Sponge
This method is perfect for beginners and gives a soft, blended look.
- Take a clean makeup sponge or a special nail art sponge.
- Paint two stripes of Claresa gel polish directly onto the sponge – one stripe of the lighter shade, one stripe of the darker shade. Slightly overlap them in the middle to help blending.
- Dab the sponge onto your nail in a gentle tapping motion. Move up and down slightly to blur the transition.
- Cure under the lamp.
- Repeat the process 2–3 times until you achieve the desired intensity.
- Clean up excess gel nail polish around your nail using a brush dipped in cleaner.
👉 Pro Tip: For a smoother effect, you can use three shades of Claresa gel nail polish for a multi-tone gradient (e.g., nude → pink → red).

Method 2: Ombre with a Brush
If you prefer more control, a brush method might suit you better.
-
Apply a thin layer of your base color and cure.
-
Apply a small amount of the second Claresa color near the free edge of the nail (tip).
-
Using a flat nail art brush (also called an ombre brush), gently drag the darker color toward the lighter shade with small horizontal strokes.
-
Blend the middle area until the transition looks seamless.
-
Cure under the lamp.
-
Apply another thin layer of both colors and blend again if needed for depth.
👉 Tip: Keep your strokes light – pressing too hard can ruin the smooth gradient.

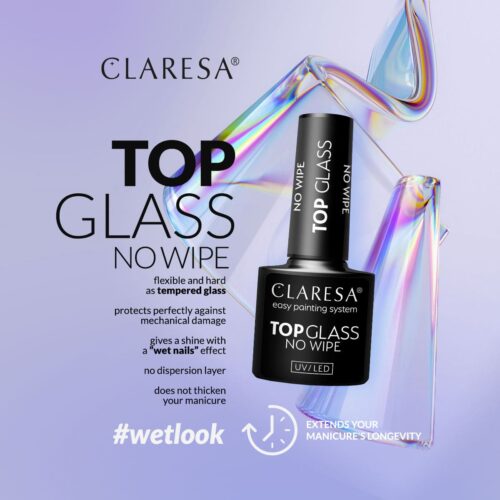
Step 4: Apply the Top Coat
If you prefer more control, a brush method might suit you better.
- Apply a thin layer of your base colour and cure.
- Apply a small amount of the second Claresa colour near the free edge of the nail (tip).
- Using a flat nail art brush (also called an ombre brush), gently drag the darker colour toward the lighter shade with small horizontal strokes.
- Blend the middle area until the transition looks seamless.
- Cure under the lamp.
- Apply another thin layer of both colours and blend again if needed for depth.
👉 Tip: Keep your strokes light – pressing too hard can ruin the smooth gradient.

Extra Tips for Perfect Ombre Nails
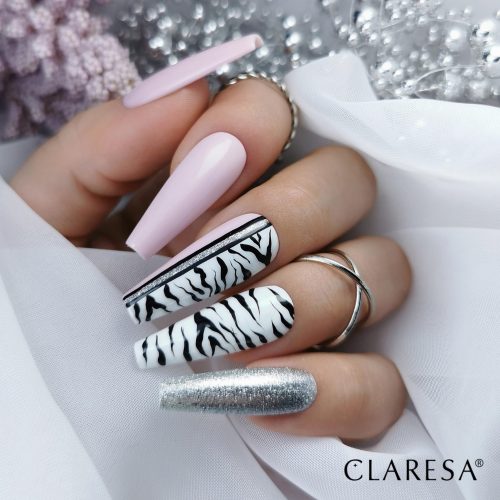
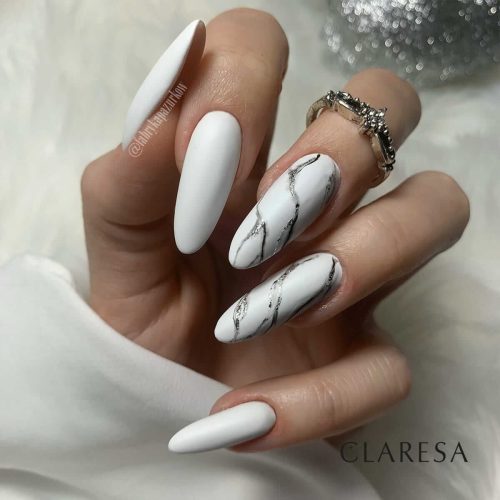
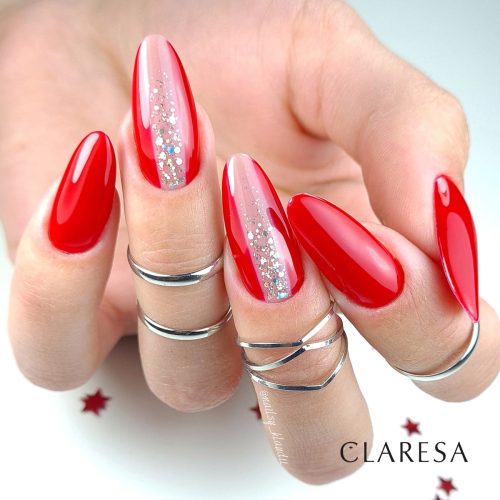
- Experiment with colours – soft nude gradients are perfect for everyday, while neon or glitter Claresa gels nail polishes are amazing for parties.
- Protect your skin – apply Protection Gum or tape around your nails before sponging to make cleanup easier.
- Add sparkle – you can enhance your ombre with Claresa glitter gel nail polishes or fine dusting of powder for a unique finish.
- Practice makes perfect – the first try might not be perfect, but with patience, you’ll quickly master it.


Conclusion
Creating ombre nails at home with Claresa gel nail polishes is easier than it looks. Whether you choose the sponge method for a soft and diffused gradient or the brush method for a precise and controlled blend, the result will always be stylish and unique. With Claresa’s wide range of gel polish shades, the only limit is your imagination.
So grab your favorite Claresa colours, follow these steps, and enjoy your beautiful DIY ombre manicure! 💅
