

-
×
 Claresa WHITE 1000 Gel Polish 5 ml
1 × €5.75
Claresa WHITE 1000 Gel Polish 5 ml
1 × €5.75
Nails
French Nails – A Complete Beginner’s Guide
11
Sep
Sep
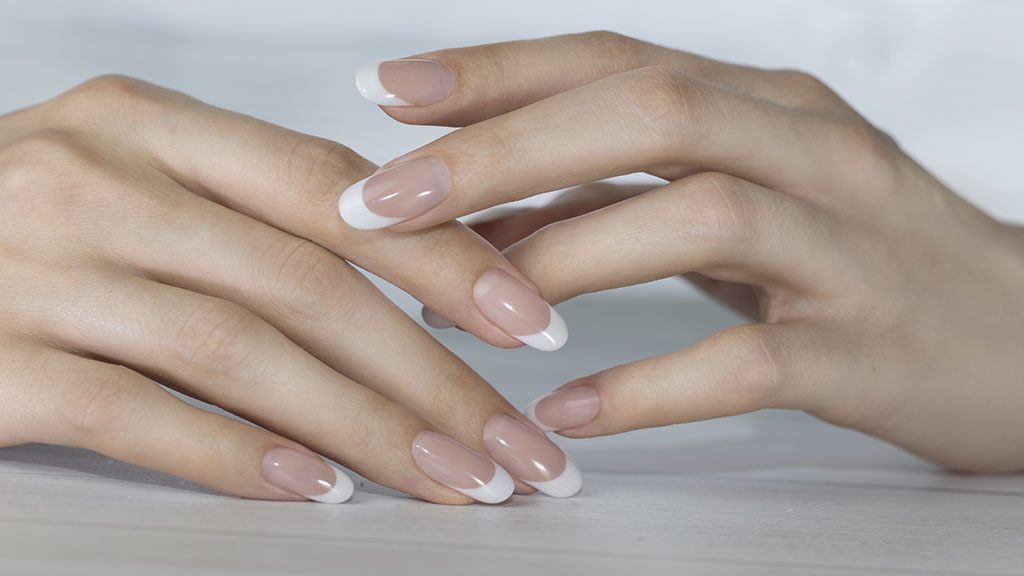
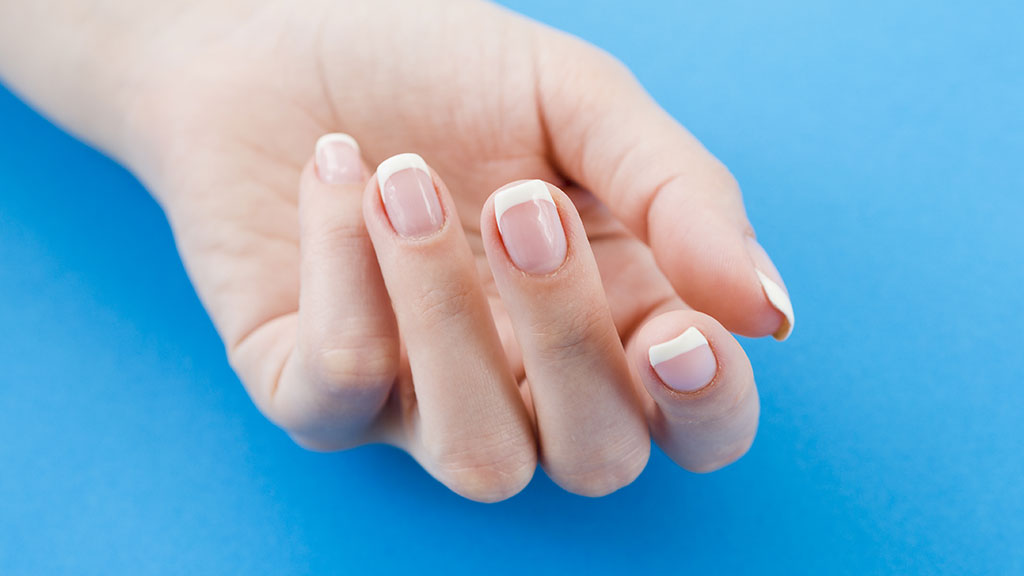
French nails, also known as the French manicure, are one of the most classic and recognizable nail styles in the world. Their trademark is a soft, natural-looking nail bed in shades of pink, beige, or nude, topped with crisp white tips. The design is elegant yet simple, making it suitable for everyday wear, weddings, job interviews, or any situation where clean, well-groomed nails are desired.
For those new to manicure, the French style is an excellent starting point. It teaches hand stability, control over polish application, and an eye for symmetry. For trainers, it provides a foundation to build more advanced techniques later. This guide breaks down every step in detail so that even someone who has never held a nail brush before can follow along with confidence.

%


Why French Nails Are Special
Unlike bold nail art or glitter-heavy designs, French nails are timeless. They never go out of fashion because they enhance the natural beauty of nails instead of overpowering them. A French manicure:
- makes nails look longer and more refined,
- works equally well on short and long nails,
- suits every skin tone,
- is appropriate for both casual and formal settings.
For beginners, the benefit is clear: you can practice basic manicure skills while creating a result that already looks professional.

Tools and Products You Need
One of the biggest sources of frustration for beginners is not having the right tools. Trying to improvise often leads to uneven lines, smudges, or polish that chips too quickly. To avoid this, prepare the following items:
- Nail file and buffer: Use the file to shape the nail (square, oval, or squoval are best for French nails). The buffer smooths the surface so the gel polish applies evenly.
- Cuticle pusher and nippers: Push back the cuticles gently; trimming excess skin prevents polish from lifting. Beginners should remember to never cut too deeply, as it can cause injury.
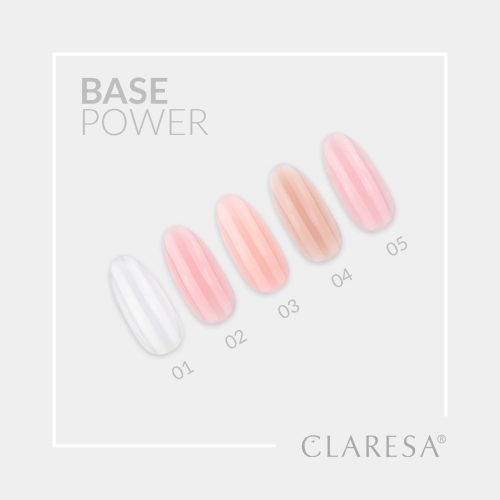
- Base coat: A transparent (or light pink or nude base) gel polish base that protects the natural nail from staining, strengthens it, and helps color polish stick better.
- Nude or light pink gel polish: This is the “background” colour. Choose a shade close to your natural nail bed for the most subtle look.
- White gel polish: The most important part of the French manicure — it creates the tip. Look for a gel polish with good opacity so it covers in one or two strokes.
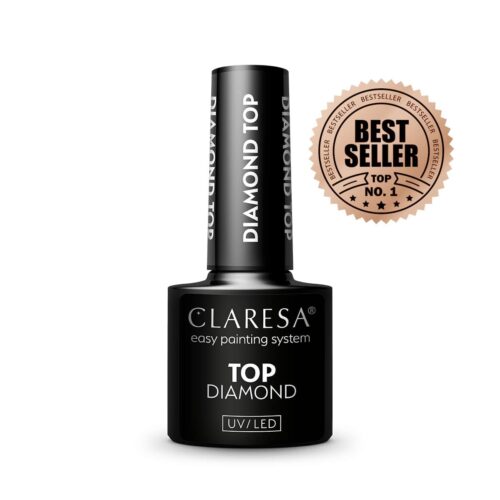
- Top coat: This seals the manicure, adds shine, and prevents chipping.
- Guideline strips or nail tape (optional): Great for beginners who want perfectly even tips without freehand painting.
- Fine brush and nail polish remover: Used to clean up mistakes around the cuticles or edges.
Tip for trainers: when teaching a group, providing identical starter kits ensures all participants work with the same quality products and makes it easier to correct mistakes.


%
%


Preparing Your Nails
Preparation is often overlooked, but it’s what makes a manicure last. Beginners should be taught that gel polish will not adhere properly if nails are oily, dirty, or uneven.
- Wash and dry your hands. Oils, creams, or dust can prevent gel polish from sticking.
- Shape your nails. Decide on a shape before you begin. French tips look particularly neat on square, squoval, or oval nails.
- Care for the cuticles. Soften them with warm water or cuticle oil, then gently push them back with a cuticle pusher. Trim only the excess skin if necessary.
- Buff the nail surface. Lightly buffing removes shine and creates a smooth canvas. Do not over-buff, as it can thin the nails.
Proper preparation ensures a clean and professional result even before any gel polish is applied.
Applying the Base Coat and Base Colour
The base coat is your insurance policy against staining and peeling. Beginners may feel tempted to skip this step, but trainers should emphasize its importance. Apply a thin, even layer and cure it in the lamp.
Next comes the base color — usually nude, beige, or pale pink. Apply in thin coat – cure in lamp.
Usually, one or two coats are enough to create a smooth, natural-looking background.
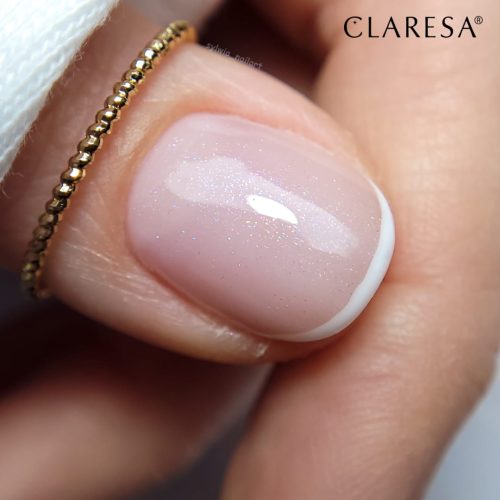
Creating the White Tips
This is the defining feature of French nails and also the part where beginners struggle most. Patience and practice are key.
Freehand method (more advanced):
- Hold the brush steady and place it slightly below the nail edge.
- In one smooth motion, curve the brush from one side of the nail to the other.
- Keep the thickness of the tip consistent across all nails.
Guideline strips or tape (for beginners):
- Place the strip just below the nail tip, leaving the free edge exposed.
- Paint the exposed area with white gel polish.
- Remove the strip carefully before curing the gel polish in the lamp.
Trainer tip: Encourage students to practice on nail tips or even pieces of plastic before working on their own nails. This builds confidence and muscle memory.


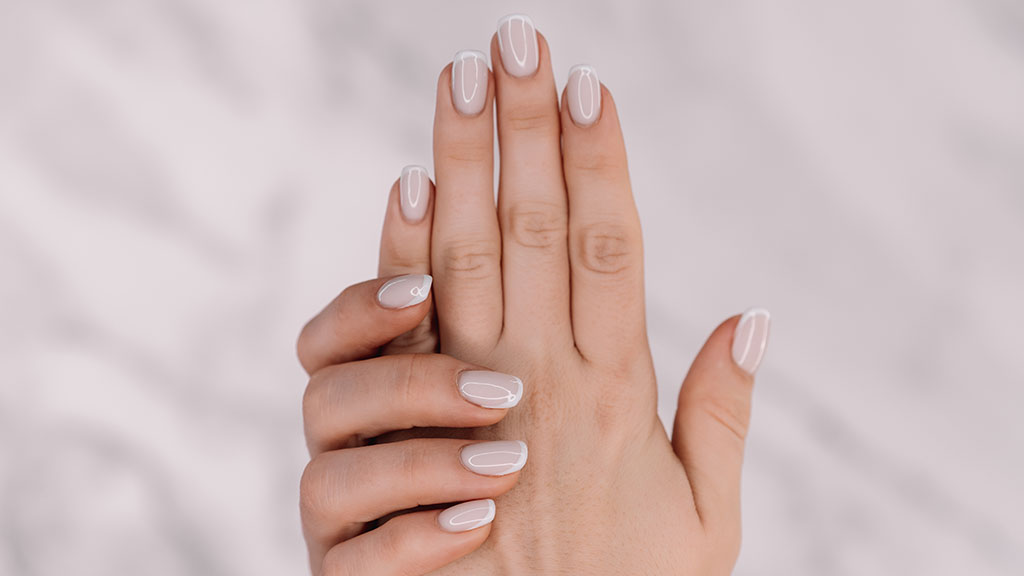
Applying the Top Coat
Once the white tips are completely cured, apply a thin layer of top coat over the entire nail. This step:
- seals the design,
- adds a professional shine,
- prevents chipping and peeling.
For beginners, this is also the step where many mistakes can be fixed. A good top coat can smooth out slight unevenness and make the whole manicure look cohesive.
Beginner-Friendly Tips
- Work with thin coats. Thick layers almost always smudge and may not cured in a lamp.
- Take your time. Rushing is the main cause of mistakes.
- Do one hand at a time. This prevents accidental dents.
- Practice consistency. Try to make all tips the same thickness and curve — symmetry is key in French nails.
- Don’t get discouraged. The first few tries may look imperfect, but every attempt builds skill.
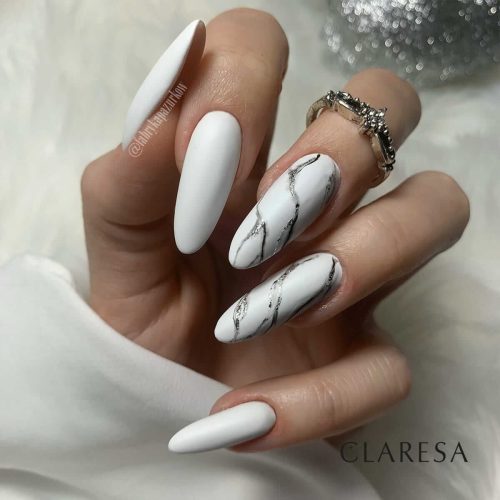
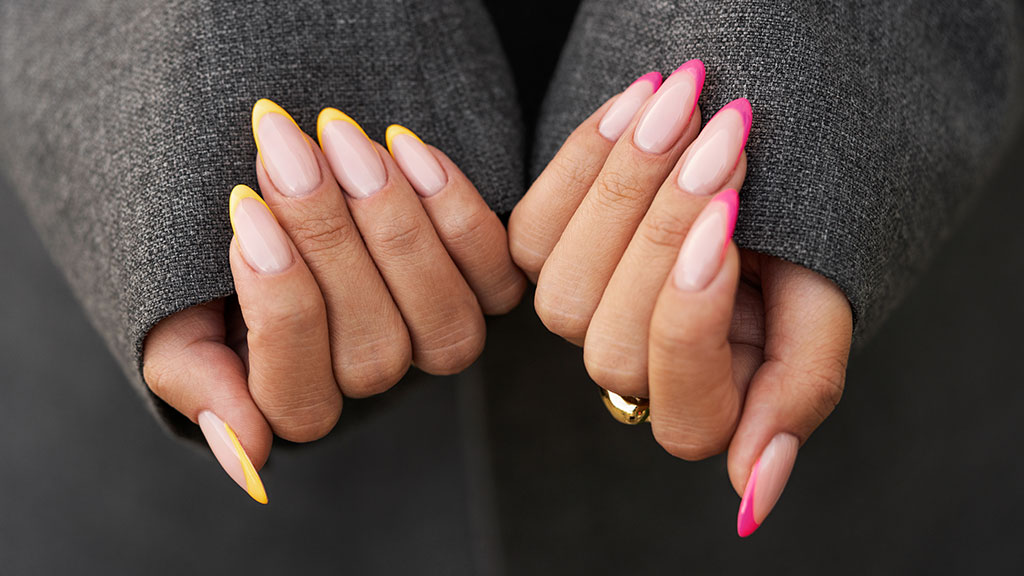
Fun Variations of French Nails
Once the basics are mastered, beginners can experiment with variations:
- Coloured tips: Instead of white, use pastel or neon shades for a modern twist.
- Glitter tips: Apply a layer of glitter gel polish over the white tip for extra sparkle.
- Reverse French: Paint the base of the nail (near the cuticle) in a contrasting color instead of the tip.
- Matte finish: Apply a matte top coat for a chic, understated look.
These creative variations keep students engaged and help self-learners build new skills without abandoning the basic French structure.
Final Thoughts
French nails are more than just a pretty design — they’re a training ground for core manicure skills: preparation, precision, and gel polish application. For beginners, they provide a sense of achievement when done well, and for trainers, they are an ideal teaching exercise. With patience, the right tools, and a step-by-step approach, anyone can master the French manicure and enjoy nails that are timeless, elegant, and effortlessly stylish.