


Nail Building & Extension Guides
Hard Gel for Nails: What It Is, How to Use It and When to Choose Hard Gel
Sep
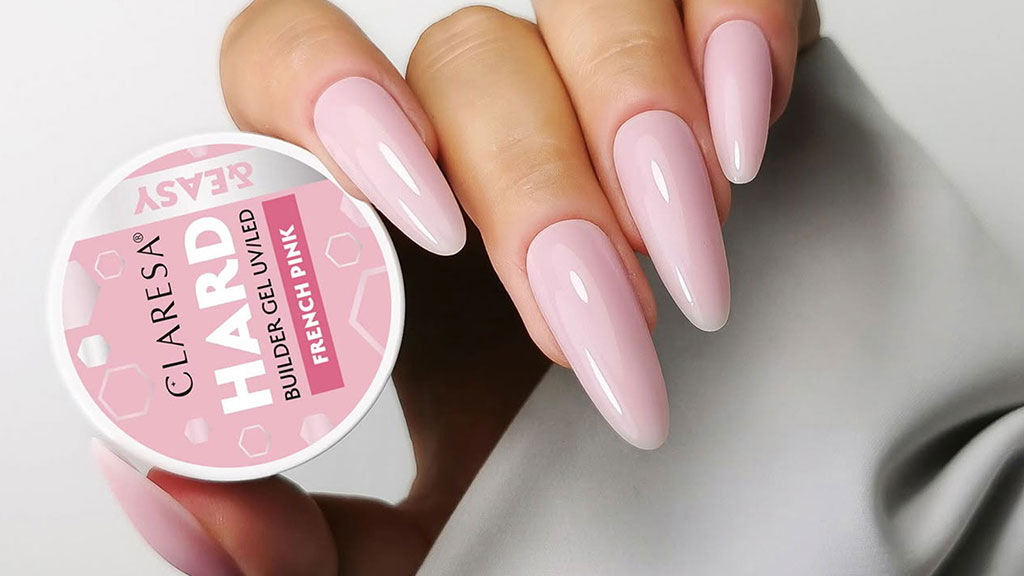
The main reason to choose hard gel is control over structure. Instead of simply adding colour, hard gel allows the nail to be built so that the stress area, sidewalls and free edge work together as one balanced structure. This becomes particularly important when nails are longer, naturally flat, prone to breaking or being extended beyond the fingertip.
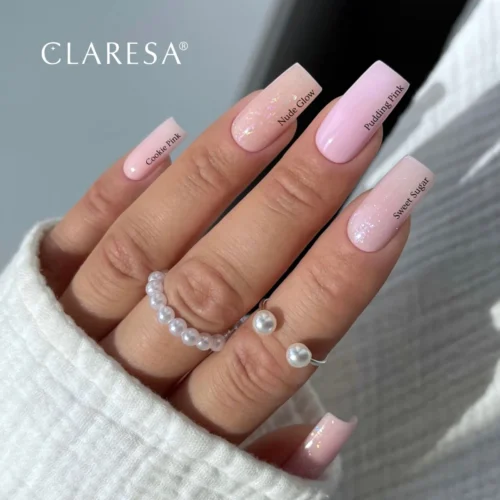
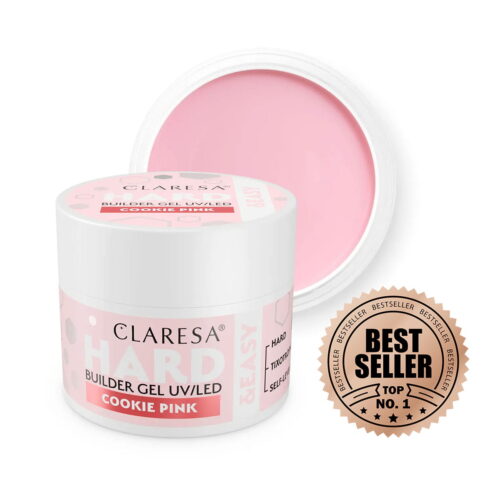
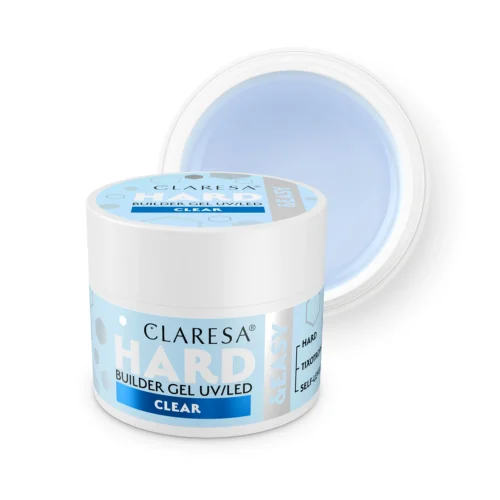
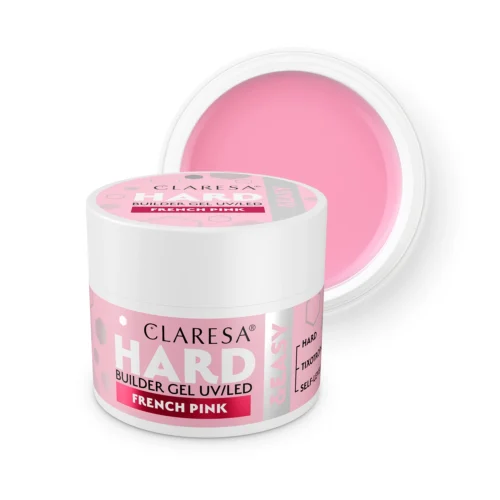
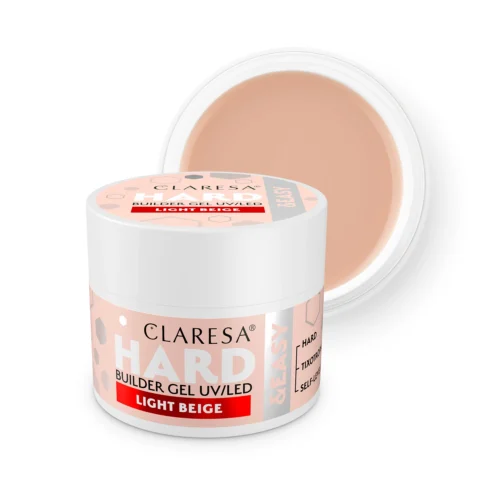
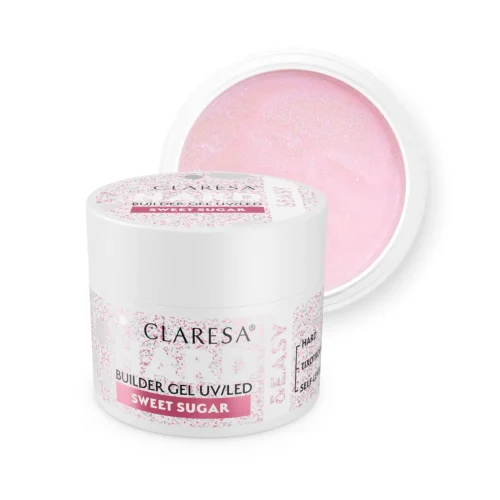
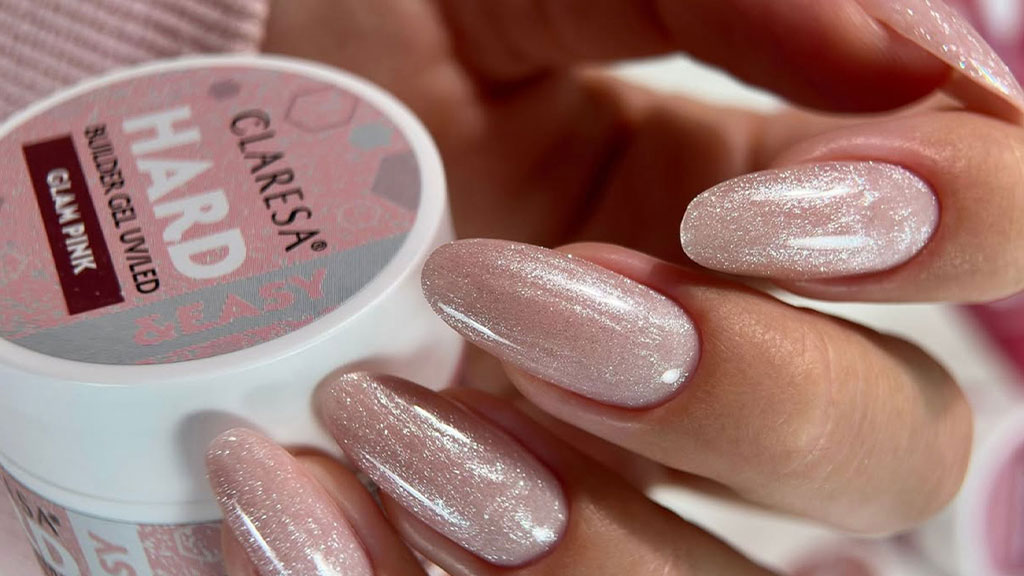
Claresa HARD&EASY is a builder gel system designed for this type of structural work. Its medium-thick thixotropic consistency helps the product stay where it is placed while still allowing controlled levelling, making it suitable for strengthening natural nails, building extensions and completing refills.
If you are still deciding between different types of builder products rather than specifically looking for hard gel, begin with our complete guide to builder gel. This article focuses specifically on hard gel, its structure, application and the situations where a harder building system makes sense.


What Is Hard Gel?
Hard gel is a UV/LED-cured building material designed to create a rigid nail structure. Unlike ordinary gel polish, which mainly provides colour and a relatively thin coating, hard gel can be shaped into an apex, used to reinforce the stress area and built beyond the natural free edge to create extensions.
The word “hard” describes the character of the cured structure rather than the consistency of the product inside the jar. A hard gel can still have a self-levelling or semi-self-levelling consistency during application. Once cured correctly, however, it forms a considerably stronger structural layer than products intended mainly for colour or flexible base work.
This distinction matters because nail construction is not only about product thickness. A properly built hard gel nail distributes mechanical stress through the shape of the structure rather than relying on a uniformly thick layer of material.
Hard gel at a glance
| Question | Practical answer |
|---|---|
| What is hard gel? | A UV/LED-cured structural gel used for reinforcement, overlays and extensions. |
| Can hard gel strengthen natural nails? | Yes, it can be used as a structural overlay over the natural nail. |
| Can hard gel extend nails? | Yes, suitable hard gels can be used to build extensions on forms or according to the chosen extension technique. |
| Can you build an apex with hard gel? | Yes. Apex construction is one of the important structural uses of builder gel. |
| Does hard gel need a lamp? | Yes. It must be cured using the compatible UV/LED system specified for the product. |
| Is hard gel the same as gel polish? | No. Gel polish is primarily a colour coating; hard gel is a structural building material. |
| Can hard gel be removed with acetone? | Many hard structural gels are file-off products. Always check the removal instructions for the exact formula. |
What Is Hard Gel Used For?
Hard gel becomes useful when the nail needs structure rather than only a surface coating. The exact technique depends on the product and the natural nail, but common applications include reinforcement, overlays, extensions, shape correction and maintenance of previously built nails.
Strengthening natural nails
A hard gel overlay can reinforce the natural nail without necessarily adding significant length. Instead of extending beyond the fingertip, the product is built over the existing nail and shaped to provide additional structural support.
This is useful when someone wants to keep their natural length but ordinary gel polish does not provide enough reinforcement for the nail.
Building nail extensions
Hard gel can also be used to create a new free edge and additional length. The product is shaped into a complete artificial structure rather than simply coating the natural nail.
The longer the extension becomes, the more important correct architecture becomes. Length creates leverage, so the position of the apex, the balance of the sidewalls and the thickness of the free edge all need to work together.
Correcting nail shape
Building gel can visually correct flat, uneven or slightly irregular nail shapes by placing material where the structure requires it. The objective is not to cover every imperfection with a thick layer, but to create a smooth and balanced profile.
Creating a foundation for colour
Hard gel can be used as the structural layer underneath gel polish. After the nail has been built, shaped and prepared correctly, colour can be added without asking the thin gel polish layer itself to provide the nail’s structural strength.
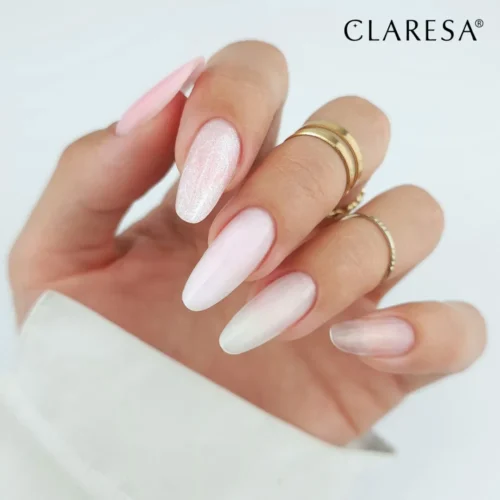
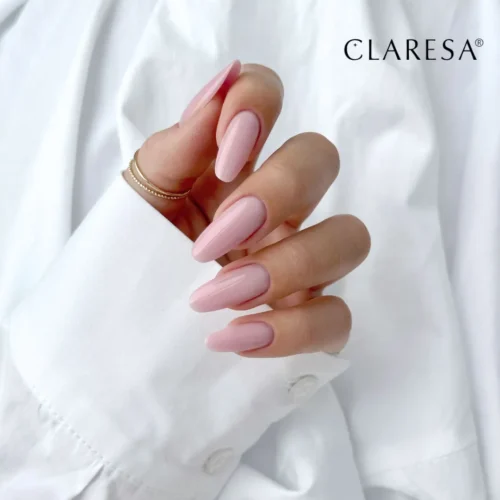
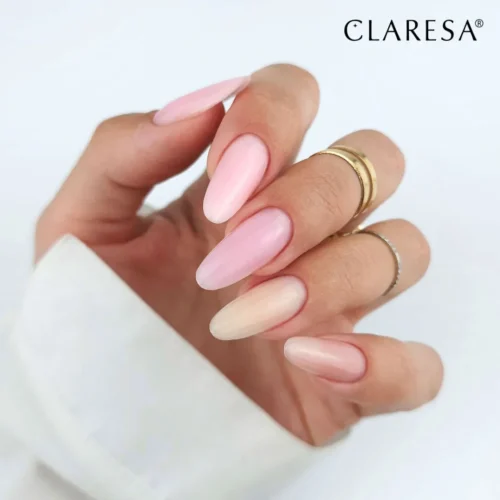
Explore the complete Claresa HARD&EASY Builder Gel Collection if you are looking specifically for a harder structural builder system.
Hard Gel vs Builder Gel: Is There a Difference?
“Builder gel” is a broad description of gels designed to build structure. Hard gel is one type of builder gel.
This is why the terms sometimes appear to be interchangeable. A shop may place hard gel, softer self-levelling builder gel and other structural gel systems within the same wider builder gel category even though they behave differently during application and after curing.
A more useful comparison is therefore not simply “hard gel versus builder gel”, but rather harder structural builder gel versus softer or more flexible builder systems.
| Feature | Hard Structural Gel | Softer Builder System |
|---|---|---|
| Cured structure | More rigid and structurally stable | Usually provides more flexibility |
| Long extensions | Well suited when the formula is intended for extension work | Suitability depends strongly on the individual system |
| Natural nail reinforcement | Yes | Yes |
| Structural correction | Provides strong control over architecture | Can be easier for lighter reinforcement and levelling |
| Self-levelling | Depends on the formula | Often designed to level readily |
| Removal | Often file-off | Depends on the exact formula |
The right product therefore depends on what you are actually building. A short natural nail needing modest reinforcement does not always require the same structure as a long extension.
If you want to compare Claresa’s different building systems side by side, read How to Choose the Perfect Builder Gel.
Hard Gel vs Rubber Base: Which One Do You Need?
Hard gel and rubber base can both add support to a manicure, but they are designed for different levels of structure.
Rubber base is primarily a flexible base and reinforcement product. It can help level the natural nail, reinforce shorter nails and create a controlled foundation underneath gel polish.
Hard gel is intended for more structural building work. It becomes particularly useful when you need a defined apex, greater rigidity, longer extensions or more significant correction of nail architecture.
| Use | Hard Gel | Rubber Base |
|---|---|---|
| Base underneath gel polish | Can form the structural layer | Yes, this is one of its primary uses |
| Minor surface levelling | Possible, but may be more structure than needed | Very suitable |
| Short natural nail reinforcement | Yes | Yes |
| Developed apex | Very suitable | Usually used for a more subtle structure |
| Long extensions | Suitable when the product is intended for them | Not the first choice for demanding extensions |
| Rigid structure | Yes | More flexible |
If your goal is mainly to strengthen and level short natural nails, a rubber base may already provide the type of support you need. If you need a more developed architecture or significant extension, a builder system is usually the more relevant category to investigate.
For detailed application guidance, see How to Use Rubber Products: Application, Apex, Lifting & Removal.
Hard Gel vs Polygel
Hard gel and polygel can both be used for nail extensions and structural work, but they behave very differently while you are shaping them.
Traditional builder gel is manipulated as a gel. Depending on its viscosity and thixotropic properties, it may level after placement and can continue moving until it is cured.
Polygel has a much denser, paste-like consistency. It is positioned and shaped mechanically with a brush and suitable working liquid rather than relying primarily on self-levelling behaviour.
Choose hard gel when:
- you prefer working with a gel consistency;
- you want the product to level during construction;
- you need a strong structural overlay;
- you want to build extensions with a traditional gel system;
- you are comfortable controlling gel movement before curing.
Consider polygel when:
- you prefer a material that stays almost exactly where it is placed;
- you want to shape the structure manually before curing;
- you prefer working with dual forms or sculpting techniques suited to polygel;
- you want more time to position the material without self-levelling movement.
Neither system is automatically better. They simply provide different working behaviour.
For more detail on the second option, read our Claresa Poli Gel Complete Guide.
Can You Use Hard Gel on Natural Nails?
Yes. Hard gel does not need to create an extension. It can be applied as an overlay directly over the prepared natural nail when additional reinforcement or structural correction is required.
An overlay follows the existing nail length while adding controlled material above the natural plate. The objective is to strengthen the nail and create an appropriate profile without unnecessarily extending it.
A hard gel overlay can be useful for:
- natural nails that need additional reinforcement;
- maintaining longer natural nails;
- creating a balanced apex;
- correcting a relatively flat nail profile;
- supporting the stress area;
- creating a smooth foundation for gel colour;
- protecting an existing length while it grows.
Using a hard product does not mean the entire nail should be covered with a thick layer. The cuticle area should remain controlled and the material should be distributed according to the nail architecture.
When the natural nail is very short and requires only light levelling, a more flexible system may sometimes be sufficient. Product choice should follow the required structure rather than the assumption that harder always means better.
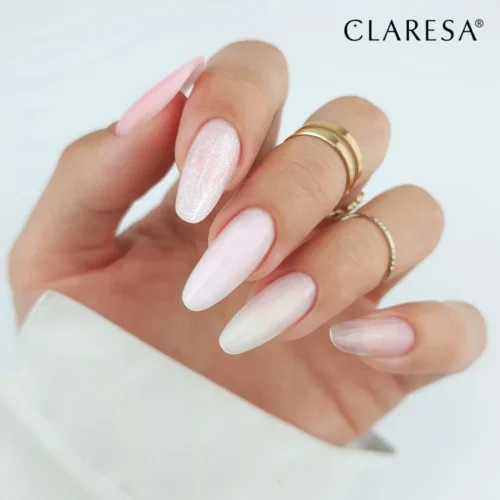
Hard Gel Nail Extensions
Hard gel is particularly valuable for extensions because the product can be used to create a completely new structural free edge beyond the natural nail.
The objective is not simply to make the nail longer. An extension must remain proportionate and mechanically balanced. As length increases, small mistakes in architecture become increasingly important because the extended free edge creates leverage against the natural nail.
Structure matters more than thickness
A common misconception is that a stronger extension is simply a thicker extension. Excessive product can make the nail bulky without creating the correct distribution of strength.
A well-built extension should instead consider:
- the transition from the natural nail to the extension;
- the apex position;
- the stress area;
- parallel or intentionally shaped sidewalls;
- the lower arch;
- free-edge thickness;
- the selected nail shape;
- the total extension length.
Hard gel on forms
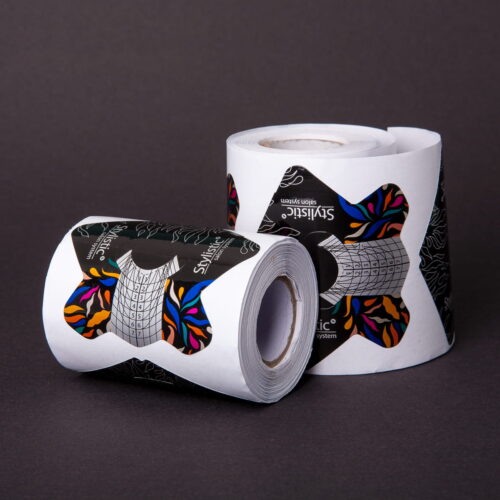
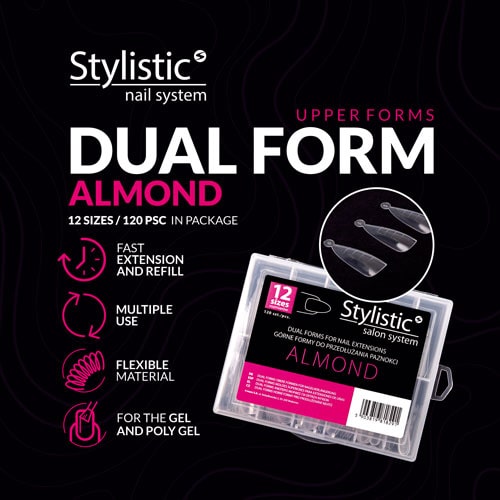
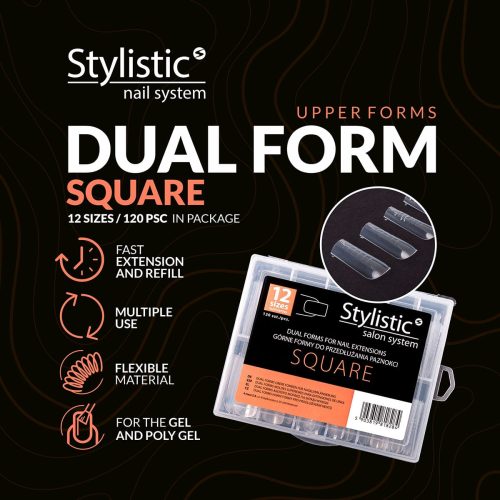
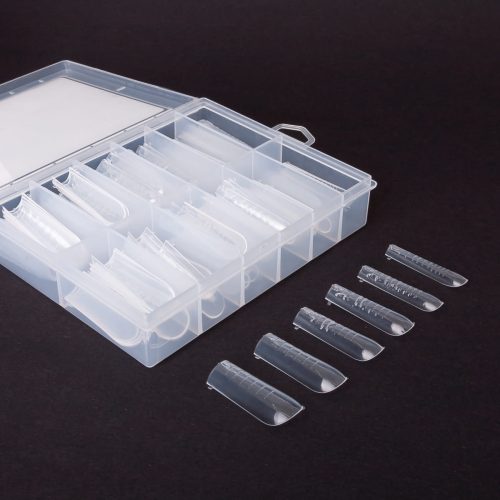
When a form-based technique is used, the form provides temporary support underneath the new extension while the uncured gel is shaped. After curing, the form is removed and the gel itself becomes the structural extension.
Correct form placement matters because the angle of the form influences the direction in which the extension is built. A badly positioned form can make later correction considerably more difficult.
Choosing extension length
Longer is not automatically better. The suitable length depends on the natural nail, the chosen shape, the product system and the ability to build a stable structure.
If you are new to nail extensions, shorter extensions are generally easier to control while learning correct product placement and architecture.
For more background on extension systems, see our guide to gel nail extensions.
What Is the Apex in Hard Gel Nails?
The apex is the highest structural area of a built nail. It helps reinforce the stress area and contributes to the overall balance of the nail profile.
An apex should not look like a separate lump sitting on top of the nail. It should transition gradually from a thinner cuticle area, rise into the structural zone and then reduce towards the free edge according to the length and shape being created.
Why is the apex important?
When pressure is applied to an extended nail, the force does not affect every part of the structure equally. The area where the natural nail transitions into the free edge experiences significant mechanical stress.
Correct architecture helps distribute that force through the structure instead of leaving one weak point to absorb it.
Does every nail need the same apex?
No. The appropriate structure depends on factors such as:
- nail length;
- natural nail shape;
- extension shape;
- free-edge length;
- product rigidity;
- the existing curvature of the nail.
A short overlay does not require exactly the same profile as a long extension. Copying one identical product bead onto every nail without considering its shape can lead to unnecessary bulk or poor balance.
How to Choose a Hard Gel
Choosing a hard gel is not only about colour. Working consistency, levelling behaviour, rigidity, coverage and the type of structure you intend to build all matter.
Consistency
A thinner self-levelling product moves more readily across the nail. This can make smoothing easier, but it also means you need to control movement towards the sidewalls and cuticle.
A thicker gel generally stays where it is placed more easily, but may require more deliberate shaping.
Thixotropic builder gels combine these behaviours differently: the material remains relatively stable when left alone but becomes easier to manipulate while being worked with the brush.
Clear or coloured hard gel
Clear gel is useful when you want transparency underneath nail art or intend to cover the structure with another colour.
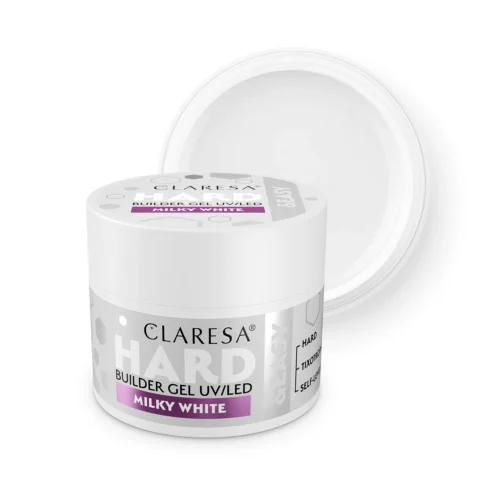
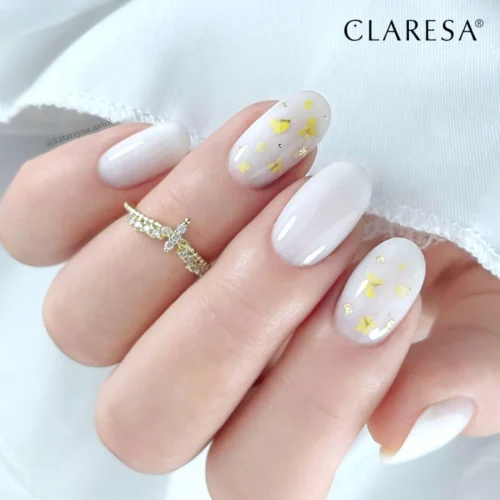
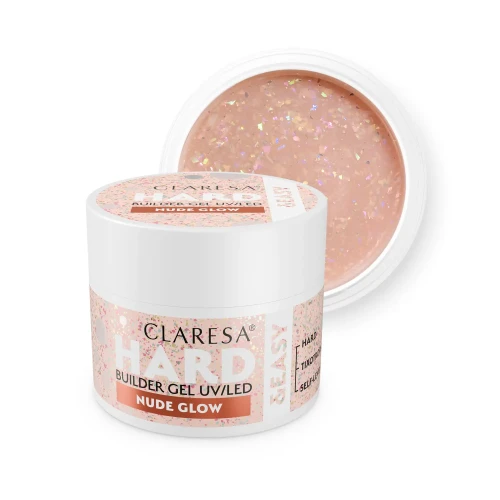
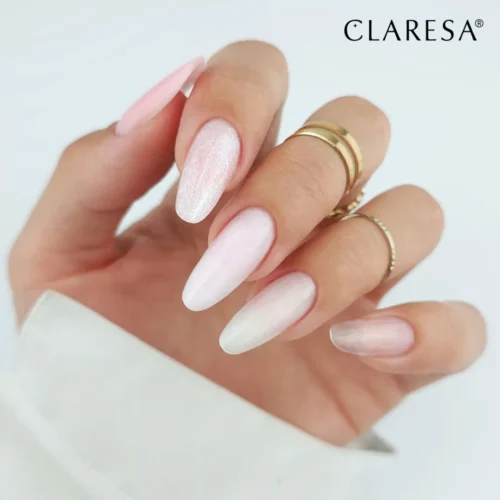
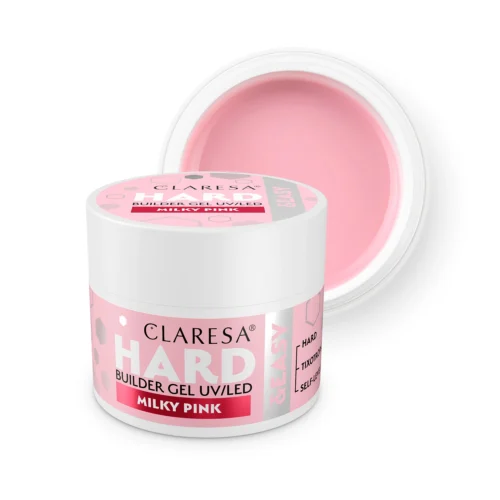
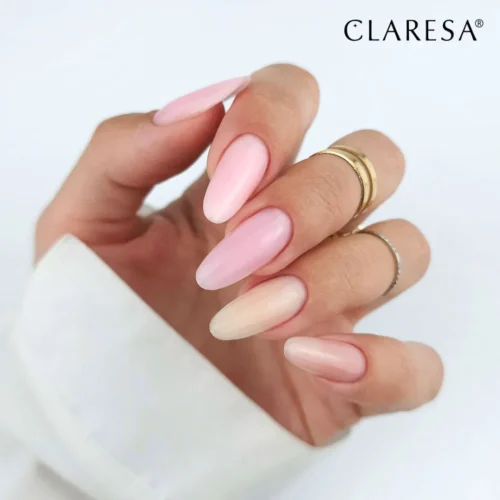
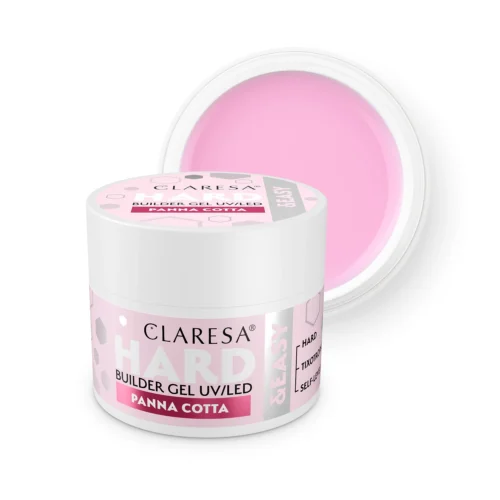
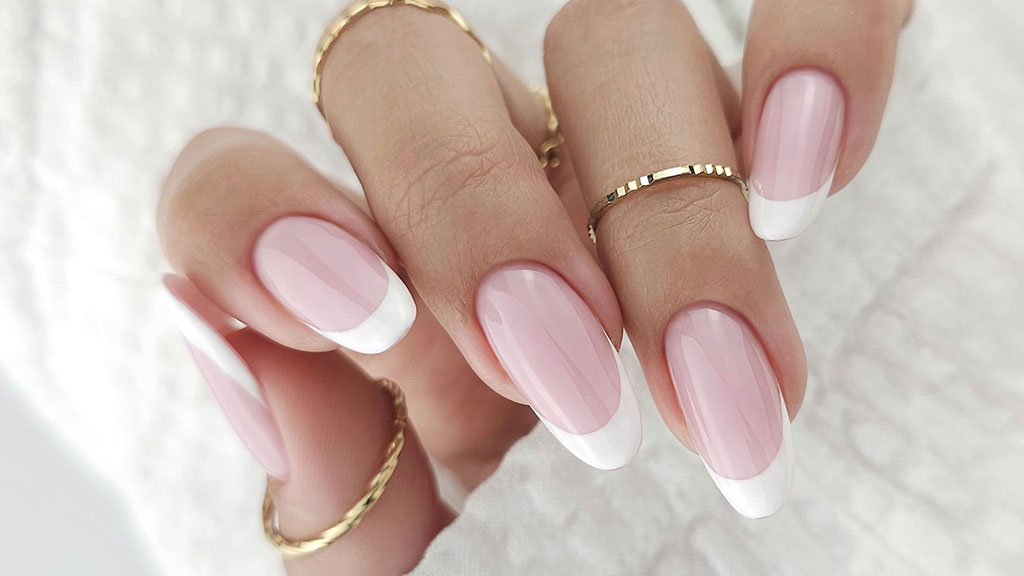
Nude, pink and milky builder shades can reduce the need for a separate colour layer when you want a natural manicure, French base or soft structured finish.
Coverage
Higher-coverage builder shades can help disguise the natural free edge and create a more uniform nail colour. More transparent shades retain greater visual depth and allow more of the natural nail to remain visible.
Jar size
Smaller jars are practical when trying a new shade or system. Larger sizes become more useful when the product is used regularly for salon work or repeated maintenance.
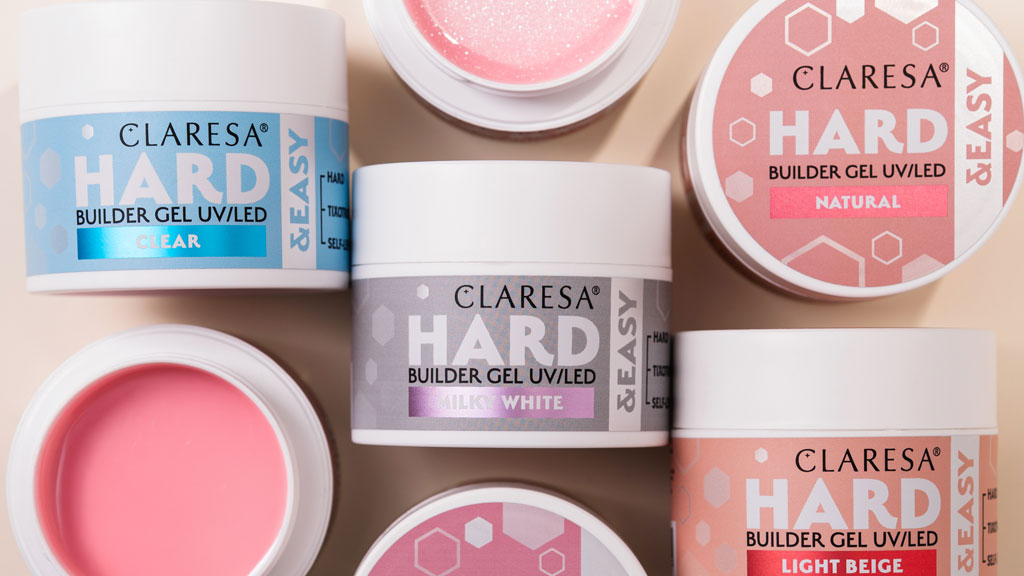
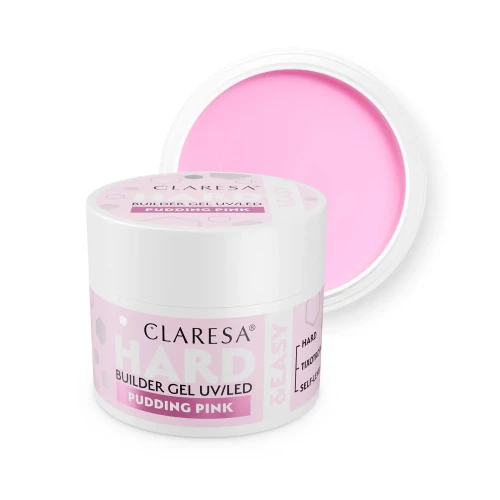
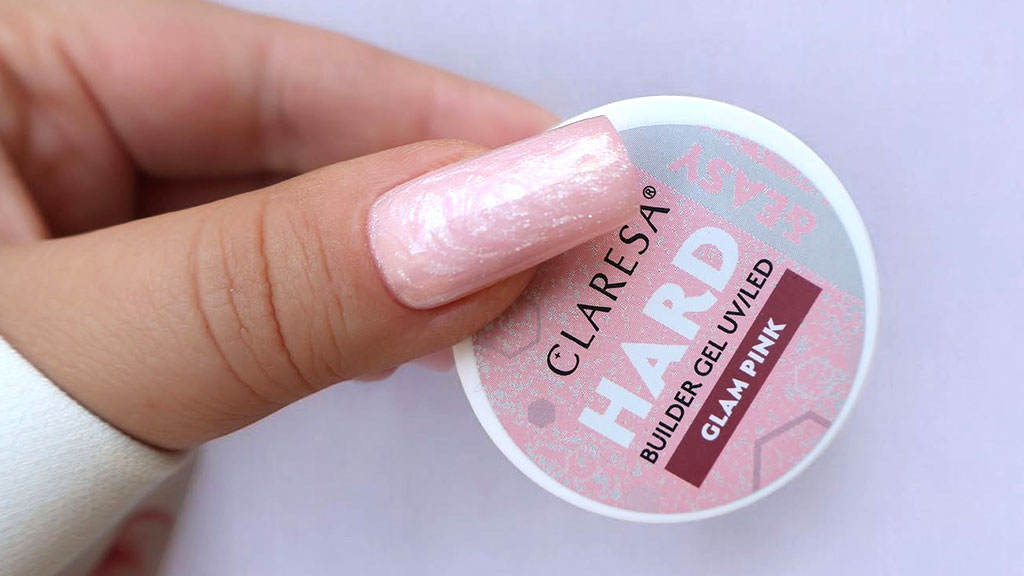
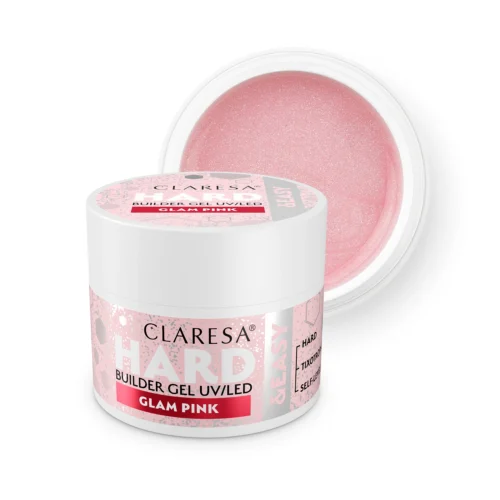
Claresa HARD&EASY includes clear, natural, pink, beige, milky and other builder shades in different jar sizes, making it possible to choose both the visual finish and quantity appropriate for the way you work.

How to Apply Hard Gel Step by Step
The exact instructions supplied with the individual product always take priority. Hard gel systems can differ in preparation requirements, compatible base products, layer thickness and curing conditions.
The following sequence explains the general logic of a hard gel overlay or structural application.
1. Assess the natural nail
Look at the nail before beginning. Consider its existing length, curvature, sidewalls and the amount of structure required.
Do not apply cosmetic gel products over open wounds, visible inflammation, suspected infection or unexplained nail changes.
2. Establish the nail shape
Shape the natural free edge as required for the intended manicure. If you are creating an extension, prepare the nail according to the extension technique being used.
3. Prepare the cuticle area
Remove non-living tissue from the nail plate and make sure the product will not be applied over cuticle residue.
Product touching skin or cuticle tissue can contribute to lifting and exposes the skin unnecessarily to uncured gel.
4. Prepare the natural nail surface
Prepare the nail plate according to the requirements of the product system. Remove dust thoroughly and avoid touching the prepared surface with your fingers.
5. Apply the required preparation products
Cleaner, dehydrator, primer and bonding products perform different jobs. Use only the products required by the selected system rather than automatically layering every preparation liquid available.
If you are unsure about their roles, see our guide to cuticle remover, dehydrator and primer.
6. Apply the compatible base when required
Some hard gel systems require or recommend a bonding base underneath the builder material. Apply it according to the instructions for the products you are using.
7. Create the contact layer
A controlled thin layer can help establish the surface onto which the structural gel will be guided. Whether this layer should be cured separately depends on the specific system.
8. Add the structural bead
Place additional gel in the area where structure is required rather than making the entire nail uniformly thick.
Guide the material towards the stress area and free edge while keeping the cuticle area controlled.
9. Build the apex
Use the behaviour of the gel to create a smooth structural profile. Check the nail from the side rather than relying only on the view from above.
10. Check the sidewalls and free edge
Before curing, make sure the structure has not flowed into the sidewalls or underneath the nail. Check that the product is distributed evenly and that the intended shape remains balanced.
11. Cure according to the product instructions
Hard gel must be cured in a compatible lamp for the time specified by the product manufacturer. Do not assume that a high lamp wattage allows you to shorten curing time.
12. Clean and shape when required
If the system leaves a dispersion layer and filing is required, follow the relevant instructions before shaping the structure.
13. Add colour if desired
Once the nail structure is complete, you can leave a coloured builder shade visible or apply gel polish over it.
Browse the Claresa Gel Polish Collection if you want to add colour over the completed structure.
14. Finish the manicure
Complete the surface with the appropriate compatible top coat when required by the system and cure it correctly.


Does Hard Gel Need Filing?
Not every hard gel application requires the same amount of filing.
A controlled self-levelling or thixotropic gel can reduce the amount of correction required after curing if the structure is built accurately before the nail enters the lamp.
However, filing remains an important structural tool when the shape needs refinement.
Filing may be used to correct:
- uneven sidewalls;
- excess bulk;
- an irregular free edge;
- surface imperfections;
- the final nail shape;
- structural imbalance;
- product underneath the free edge where appropriate.
The aim is not to build an excessively thick nail and then file most of the material away. More efficient work comes from placing the product as accurately as possible before curing and using filing mainly for refinement.
What is a no-file technique?
A no-file or minimal-file technique aims to create the final architecture during product application so that little or no structural correction is necessary after curing.
This requires good control of product quantity, apex position, sidewalls and levelling. The product’s working characteristics can make this easier, but the final result still depends on application technique.
Why Does Hard Gel Lift?
Lifting occurs when part of the cured gel separates from the natural nail. It can begin near the cuticle, along a sidewall, at the free edge or underneath a larger area of the structure.
There is no single cause, so automatically applying more primer is not a reliable solution.
| Where lifting appears | What to check |
|---|---|
| Near the cuticle | Cuticle residue, product touching the skin, excessive thickness and preparation. |
| At the sidewalls | Product placement, preparation and whether gel flowed into the skin before curing. |
| At the free edge | Nail structure, leverage, edge preparation and mechanical pressure. |
| Across a large area | Surface contamination, adhesion system, preparation and product compatibility. |
| Repeatedly on the same nail | Individual nail shape, mechanical habits and whether the structure is appropriate. |
Common causes of lifting include:
- cuticle tissue remaining on the nail plate;
- dust or oil on the prepared nail;
- touching the prepared surface;
- uncured product contacting the skin;
- poorly balanced structure;
- inappropriate product thickness;
- incorrect curing;
- mixing products that are not intended to work together;
- mechanical stress beyond what the structure can tolerate.
Do not respond to lifting by aggressively filing the natural nail. Over-filing makes the plate thinner without necessarily correcting the actual reason the product is separating.
Why Can Hard Gel Feel Hot in the Lamp?
UV/LED-curable nail products harden through polymerisation. That chemical reaction generates heat.
The sensation can become more noticeable when a larger volume of gel polymerises at once. Nail plate thickness, product formulation, application thickness and curing conditions can all influence how the heat feels.
Using more gel can increase the problem
A thicker bead contains more reactive material. This is another reason not to assume that adding more product automatically makes an extension better or stronger.
Product formulation also matters
Different builder gels are formulated to behave differently during curing. When choosing a system, curing comfort may therefore be one of the characteristics worth considering alongside viscosity, rigidity and coverage.
Claresa HARD&EASY is formulated specifically to reduce the sensation of heat during curing while maintaining a hard structural result.
Always follow the curing instructions supplied with the exact gel and compatible lamp rather than altering curing randomly.
How to Remove Hard Gel
The removal method depends on the exact formula, but traditional hard structural gel is commonly removed by filing rather than being completely dissolved with acetone.
Before application, check whether the product is described as soak-off or file-off. Do not assume every gel in a jar can be removed using the same method.
File-off hard gel
A file-off structure is gradually reduced while keeping careful control over the remaining material and the natural nail underneath.
If the nail is going to be refilled rather than completely returned to the natural plate, it may not be necessary to remove all correctly adhered product.
The old structure can instead be reduced and rebalanced before fresh product is added.
Do not peel hard gel from the nail
Cured product should never be pulled or peeled away from the natural nail. If strongly adhered gel is forcibly removed, superficial layers of the natural nail can come away with it.
Do not file blindly into the natural nail
As the remaining product becomes thinner, the process requires greater control. The objective is to remove or reduce the artificial material, not unnecessarily thin the natural nail underneath.
Can Hard Gel Nails Be Refilled?
Yes. A properly maintained hard gel structure can often be rebalanced and refilled as the natural nail grows.
As the nail grows forward, the original apex also moves away from its intended position. This means maintenance is not simply about filling the visible gap near the cuticle.
A refill may involve:
- checking the existing structure;
- removing any lifting;
- reducing excess length or bulk;
- rebalancing the apex;
- preparing the new natural nail growth;
- adding fresh builder gel;
- reshaping the nail;
- renewing colour and top coat.
If lifting is present, do not simply cover the detached area with fresh product. The compromised material should be addressed before rebuilding the structure.
Why does the apex need to move?
The apex is positioned according to the nail structure. As weeks of natural growth move the whole artificial structure forward, the highest point can eventually sit too close to the free edge.
Maintenance restores balance rather than merely making the cuticle area look full again.
Common Hard Gel Mistakes
Using too much product everywhere
Hard gel should create deliberate structure. Applying one uniformly thick layer can produce bulky nails without placing strength where it is actually required.
Building the cuticle area too thick
The product should transition smoothly and thinly towards the cuticle. Excess material in this area makes the manicure look bulky and can contribute to lifting.
Ignoring the side view
A nail can look smooth from above while having poor architecture from the side. Always inspect the profile before curing.
Creating extensions without considering leverage
Adding length changes how mechanical forces act on the nail. A structure appropriate for a short overlay may not be suitable for a much longer extension.
Allowing uncured gel to touch the skin
Keep uncured gel away from the surrounding skin. If accidental contact occurs, remove the product before curing.
Incorrect curing
A surface that appears solid does not guarantee that a thick gel structure has cured correctly throughout. Use the lamp and curing conditions required by the product.
Filing the natural nail too aggressively
More filing does not automatically create better adhesion. Preparation should remove what the system requires without unnecessarily thinning the natural plate.
Peeling off old gel
Hard gel should never be forcibly peeled from the nail. Remove or reduce it using the appropriate method for the exact product.
Treating every builder gel as identical
Different systems can vary considerably in viscosity, flexibility, rigidity, levelling behaviour and removal method. Learn the characteristics of the gel you are actually using rather than applying the same technique automatically to every jar.
Frequently Asked Questions About Hard Gel
What is hard gel for nails?
Hard gel is a structural UV/LED-cured nail gel used to reinforce natural nails, build overlays, create an apex and construct nail extensions.
Is hard gel the same as builder gel?
Hard gel is a type of builder gel. Builder gel is a broader category that includes structural products with different levels of rigidity, viscosity and working behaviour.
Is hard gel stronger than gel polish?
Yes, they perform different functions. Gel polish is primarily a thin colour coating, while hard gel is designed to create structural support.
Can you use hard gel on natural nails?
Yes. Hard gel can be applied as an overlay to reinforce the natural nail without creating additional length.
Can you extend nails with hard gel?
Yes. Suitable hard builder gels can be used to create extensions when applied using the appropriate extension technique and correct nail architecture.
Can you build an apex with hard gel?
Yes. Creating a balanced apex is one of the main structural applications of builder gel.
Is hard gel good for short nails?
It can be used on short nails when those nails need structural reinforcement. However, if the nail only requires light levelling and flexible support, a less rigid system may sometimes be sufficient.
Is hard gel good for long nails?
A rigid builder gel can be particularly useful for longer nails and extensions because increased length requires greater structural control. The correct architecture remains essential regardless of product hardness.
What is the difference between hard gel and rubber base?
Rubber base is primarily a flexible base and reinforcement product, while hard gel is designed for more substantial structural building work such as developed apex construction and demanding extensions.
What is the difference between hard gel and polygel?
Hard gel has a traditional gel consistency and may self-level or respond to brush movement depending on its formula. Polygel has a denser paste-like consistency that is manually pressed and shaped before curing.
Does hard gel need a UV or LED lamp?
Yes. Hard gel is a light-curing product and must be polymerised using a compatible UV/LED curing system according to the product instructions.
Why does hard gel lift?
Lifting can result from incomplete nail preparation, cuticle residue, surface contamination, product touching the skin, incorrect structure, unsuitable curing or adhesion problems.
Why does hard gel burn in the lamp?
Gel polymerisation produces heat. The sensation can become stronger when a larger amount of product cures at once or depending on the condition of the natural nail and the formulation being used.
Can hard gel be soaked off?
Many traditional hard gels are file-off products. Always check the removal method specified for the exact gel rather than assuming it can be dissolved in acetone.
Can you put gel polish over hard gel?
Yes. Once the hard gel structure has been correctly built, cured and prepared, compatible gel polish can be applied to provide the desired colour.
Does hard gel have to be filed after curing?
Not always. Accurate application can minimise filing, especially with products designed for controlled levelling. Filing is still useful when the structure or shape requires correction.
Can hard gel nails be refilled?
Yes. Existing hard gel can be reduced and rebalanced, new nail growth prepared and additional builder product added as part of a refill.
When Should You Choose Hard Gel?
Hard gel makes the most sense when the manicure requires real structural work. If you need to reinforce longer natural nails, build an apex, correct nail architecture, maintain a rigid overlay or create extensions, a hard builder system provides the type of control that ordinary colour products cannot.
If your only goal is to add colour, gel polish is the more relevant product. If short natural nails mainly need flexible levelling and support, rubber base may be enough. If you prefer manually shaping a dense material that does not self-level like traditional gel, polygel may suit your technique better.
The important decision is therefore not simply which product is strongest. Choose the system whose working characteristics match the nail structure you need to create.
Explore the Claresa HARD&EASY Collection for hard builder gels, or browse the wider Claresa UV/LED Gel Collection to compare different structural systems.
You can also continue with our complete Builder Gel Guide, compare systems in How to Choose the Perfect Builder Gel, or learn about a different building technique in the Claresa Poli Gel Complete Guide.