Uncategorized
Mastering Gel Nail Builder: A Compact Guide
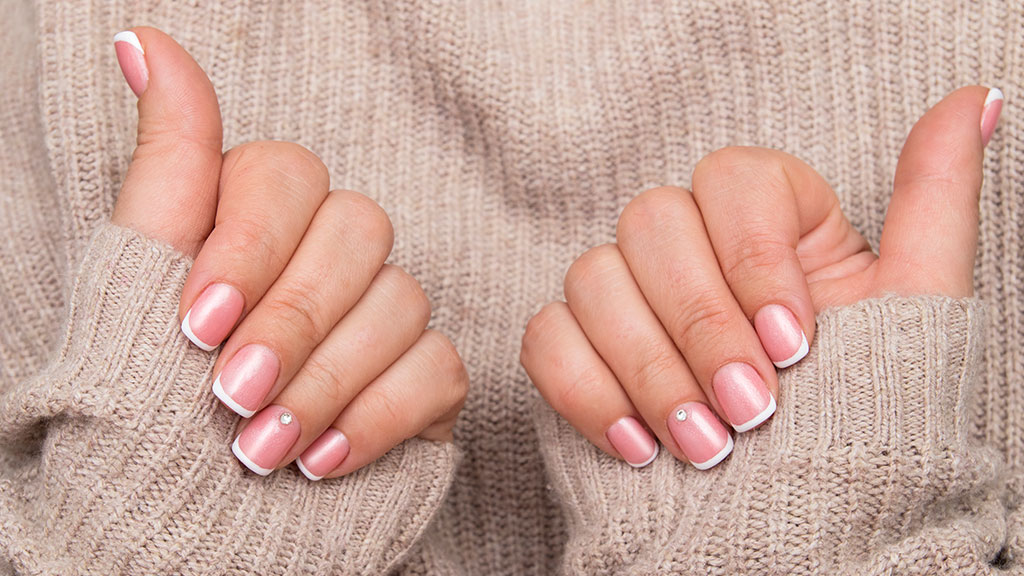
Gel nail builder has become a go-to product for nail professionals and DIY enthusiasts alike, thanks to its strength, flexibility, and versatility. Whether you’re new to gel builder or looking to refine your technique, this guide will walk you through everything you need to know—from understanding the basics to mastering advanced techniques for a flawless manicure.
Understanding Gel Nail Builder
What is Gel Nail Builder?
Gel nail builder is a thick, viscous gel designed to enhance the natural nail by providing a durable, flexible foundation for overlays and extensions. Unlike regular gels or polishes, builder gel offers added strength, making it ideal for those with weak nails or anyone looking to extend their nail length. It can be used alone for a natural look or as a base for intricate nail art and designs.
Types of Builder Gels: Traditional vs. UV Builder Gels
There are two primary types of builder gels: traditional builder gels and UV builder gels. Traditional builder gels are thicker and may require a longer curing time under a UV or LED lamp. They are known for their durability and are typically used by professionals.
UV builder gels, however, are formulated to cure faster, making them perfect for quick applications. Despite the quicker curing time, they maintain the same level of strength and longevity as traditional builder gels.
Application Process for Builder Gel
Step-by-Step Application Guide
Mastering the application of builder gel involves a few key steps to ensure a smooth, long-lasting finish:
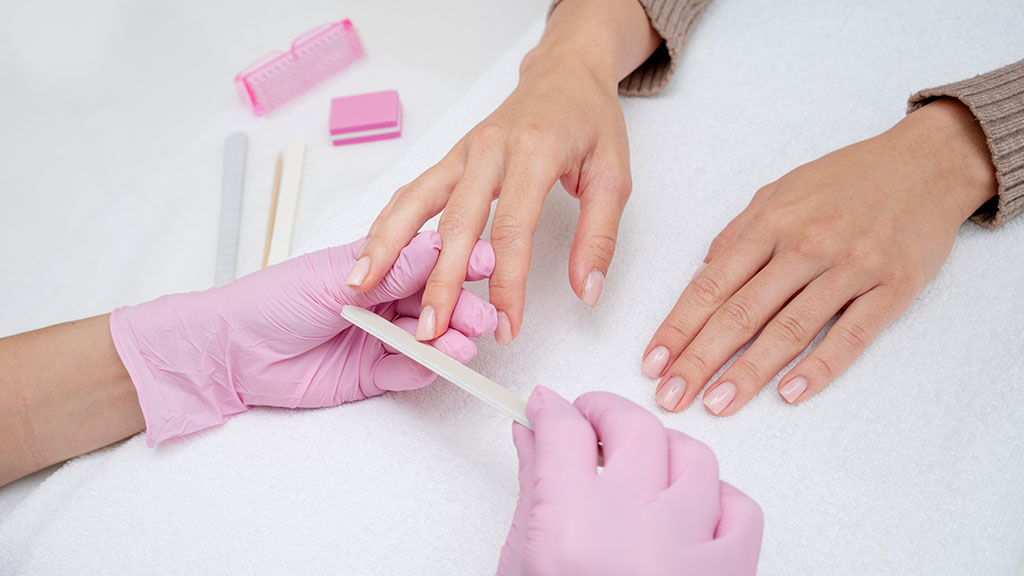
- Prepare the nails: Start by cleaning, shaping, and dehydrating the nails. Push back cuticles and remove dead skin to create a clean surface.
- Apply a base coat: A base coat is essential for adhesion and prevents lifting. Cure under a UV or LED lamp according to the manufacturer’s instructions.
- Apply the builder gel: Using a gel brush, apply the builder gel in thin layers, starting at the cuticle and moving towards the tip. Be sure to cure each layer under the UV or LED lamp.
- Build the nail structure: For extensions or added thickness, continue applying thin layers of builder gel until the desired shape and length are achieved. Keep in mind that levelling is crucial for a smooth finish.
- Shape and finish: Once the structure is built, shape the nails using a file and buffer. Apply a top coat, cure, and remove the tacky layer with a nail cleanser.
- Final touches: Finish with cuticle oil to nourish the surrounding skin.
Common Application Mistakes to Avoid
- Overloading gel: Applying too much builder gel can result in uneven thickness, leading to lifting or a bulky appearance.
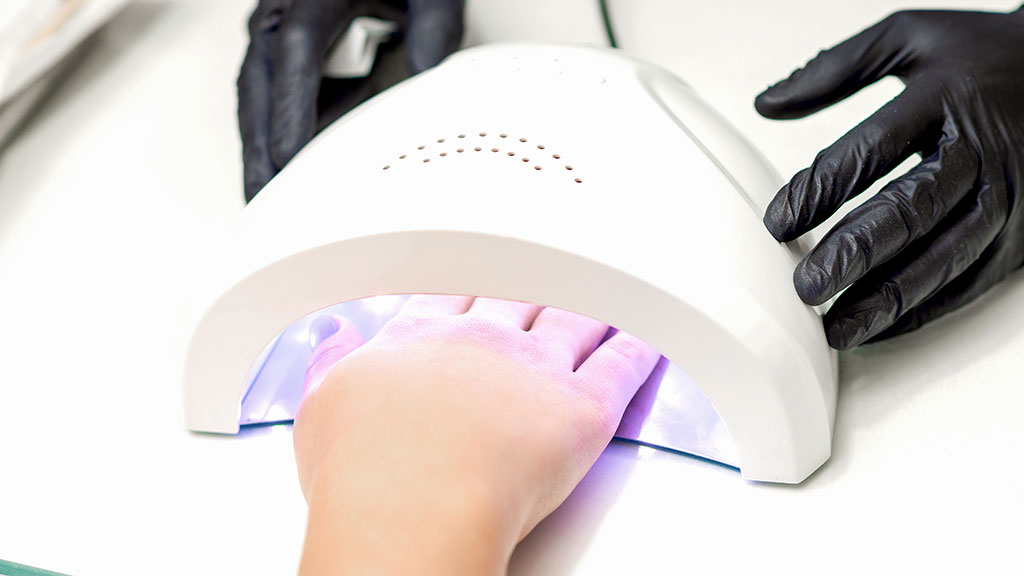
- Curing errors: Under- or over-curing can weaken the nails. Always follow the curing instructions provided by the manufacturer.
- Improper nail prep: Skipping nail prep or applying gel too close to the cuticles can lead to lifting.
Levelling the Builder Gel
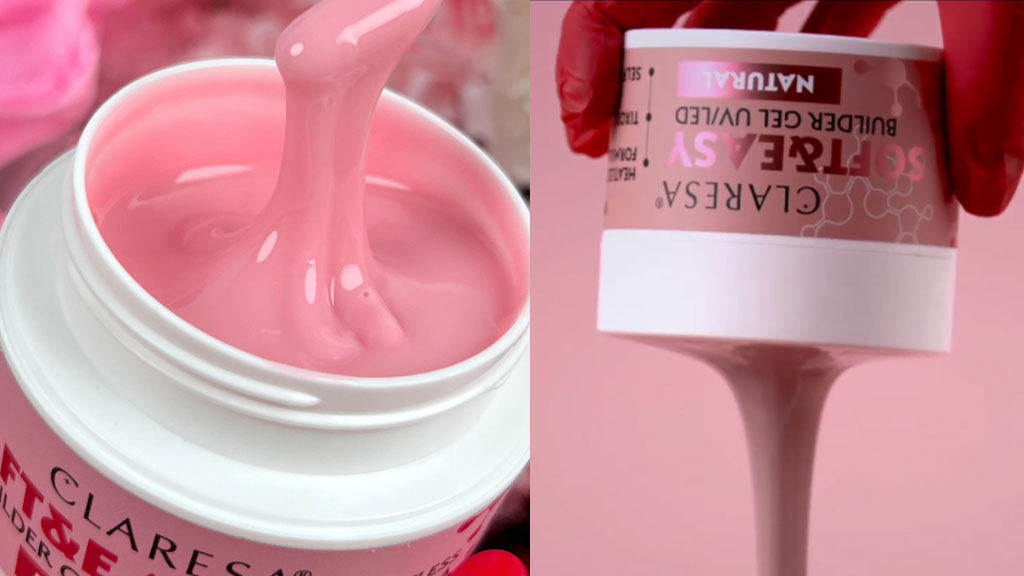
A key aspect of builder gel application is achieving a smooth, even surface. Levelling ensures that the gel distributes evenly across the nail, preventing lumps or an uneven finish. A good trick is to turn the hand upside down for a few seconds before curing, allowing the gel to naturally settle and level out.
Builder Gel for Natural Nails
Do’s and Don’ts for Natural Nails
Builder gel is an excellent option for strengthening and protecting natural nails. Here are some tips to follow when using it:
- Do properly prep the nail to ensure optimal adhesion.
- Do apply thin, even layers to avoid a thick, artificial look.
- Don’t apply the gel too close to the cuticle, as this may cause lifting or irritation.
- Don’t over-file the natural nail, which can weaken it over time.
Exploring the Variety of Builder Gels
Builder gels come in various forms and formulations, offering versatility for different nail enhancement needs.
Coloured Builder Gels
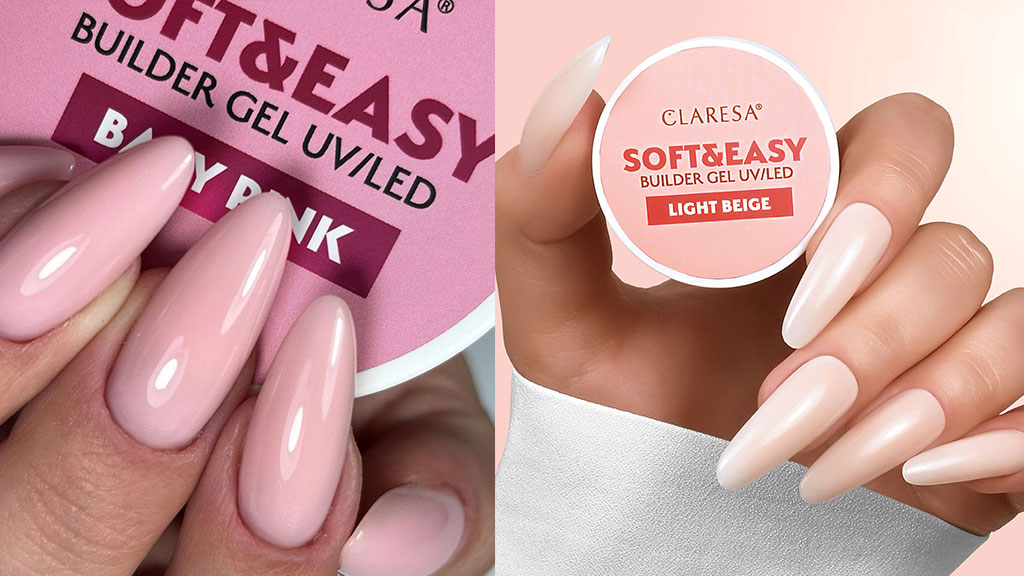
Coloured builder gels combine strength with vibrant shades, eliminating the need for separate gel polish. These are perfect for those looking to create designs or achieve a pop of colour while still benefiting from the durability of a builder gel.
Jelly vs. Duo Builder Gels
- Jelly Builder Gels: With a thicker, jelly-like consistency, these gels hold their shape better, making them ideal for sculpting nail extensions.
- Duo Builder Gels: These are two-component systems combining a base and builder gel in one. This reduces the number of steps and products needed, making the process quicker and simpler.
Comprehensive Builder Gels
For a streamlined routine, comprehensive builder gels offer an all-in-one solution that functions as a base, builder, and top coat. These are ideal for busy professionals or at-home users looking for efficiency without sacrificing quality.
Benefits of Builder Gel
Long-Lasting Manicures
Builder gels provide a durable base that adheres strongly to the natural nail, resulting in a long-lasting manicure. Proper application can prevent issues like chipping, peeling, or lifting, extending the life of your manicure to several weeks.
Strengthening Weak Nails
Builder gel offers added protection and strength, making it a perfect option for those with weak or brittle nails. The gel reinforces the natural nail, helping prevent breakage while promoting healthy nail growth.
Why Professionals Prefer Builder Gel
Many nail technicians favor builder gel for its flexibility, strength, and ease of use. Its versatility allows for extensions, overlays, and even intricate designs while providing the strong base needed for long-lasting results.
Advanced Builder Gel Techniques
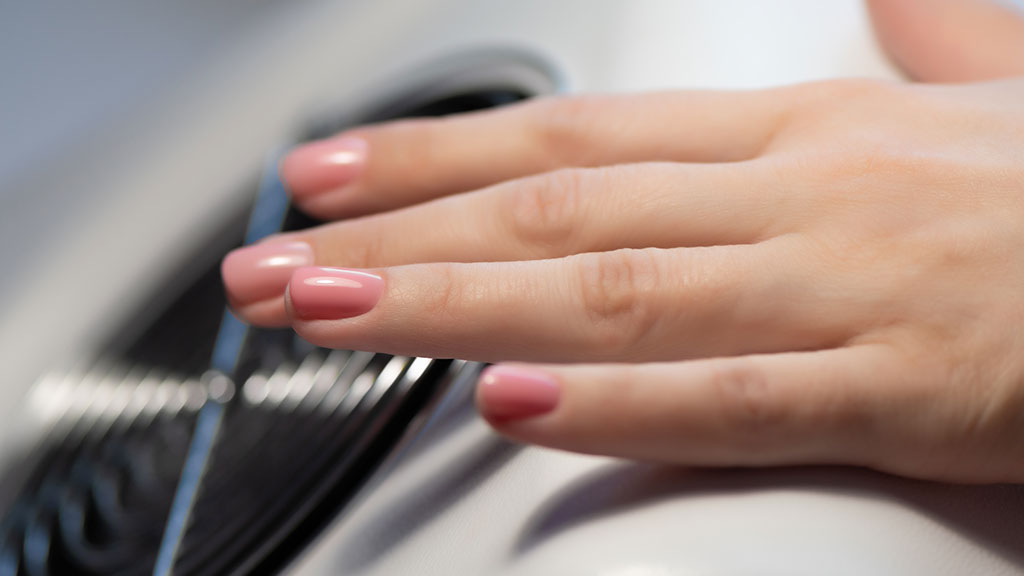
Once you’re comfortable with basic builder gel applications, you can explore advanced techniques like creating the perfect C-curve or mastering sculpting for extensions.
Creating a Perfect C-Curve
The C-curve refers to the arch created on the nail, giving it both strength and an aesthetically pleasing shape. To achieve this:
- Apply a small bead of builder gel at the apex (center) of the nail.
- Use your brush to gently guide the gel from the center towards the edges, ensuring even coverage.
- Cure under a UV or LED lamp, then shape with a file for precision.
The Role of Base Coat in Gel Manicures
A base coat ensures the builder gel adheres securely to the natural nail. Without this step, the gel may lift or chip prematurely. It also protects the natural nail from staining or damage, so don’t skip this essential first step.
Curing Time and Its Importance
Correct curing is crucial for the success of your gel manicure. Under-curing leaves the gel soft and prone to breakage, while over-curing can make it brittle. Be sure to use a compatible UV or LED lamp and follow the manufacturer’s guidelines on curing times.
Top-Rated Builder Gel Products
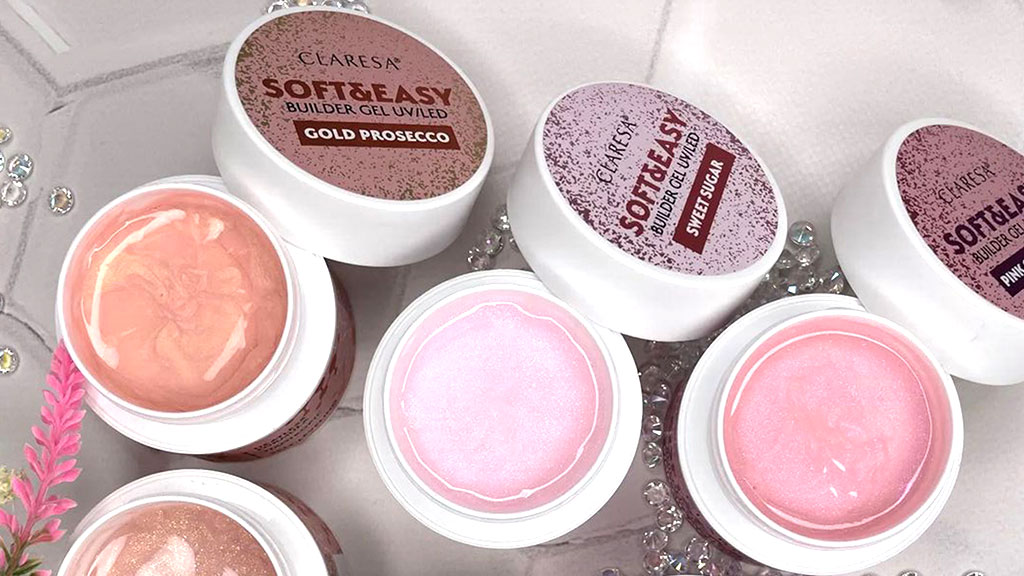
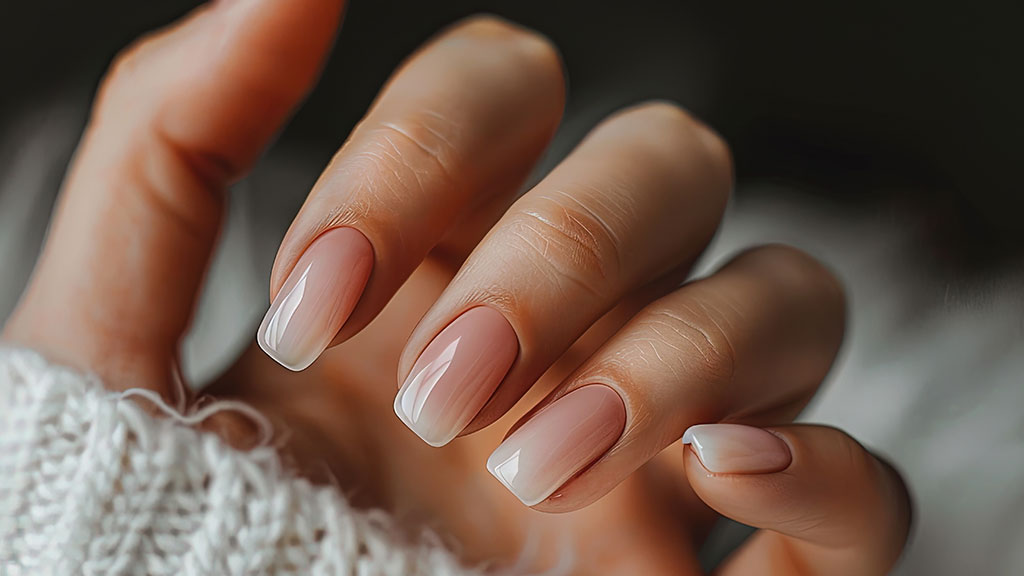
If you’re looking for professional-grade products, Claresa builder gel is a top choice, known for its self-levelling properties and strong adhesion. Another popular option is 5-in-1 builder gels, which combine the benefits of base coat, builder gel, and top coat into one product.
Conclusion
Builder gel offers a versatile and durable solution for anyone looking to enhance their nails, whether you’re extending them or strengthening weak nails. With practice, you’ll be able to master the art of builder gel application, creating beautiful, long-lasting manicures at home or in the salon.
By following this guide, both beginners and advanced users can confidently navigate the world of gel nail builder and enjoy flawless results every time.


